As an Amazon Associate we earn from qualifying purchases. Here’s how it works.
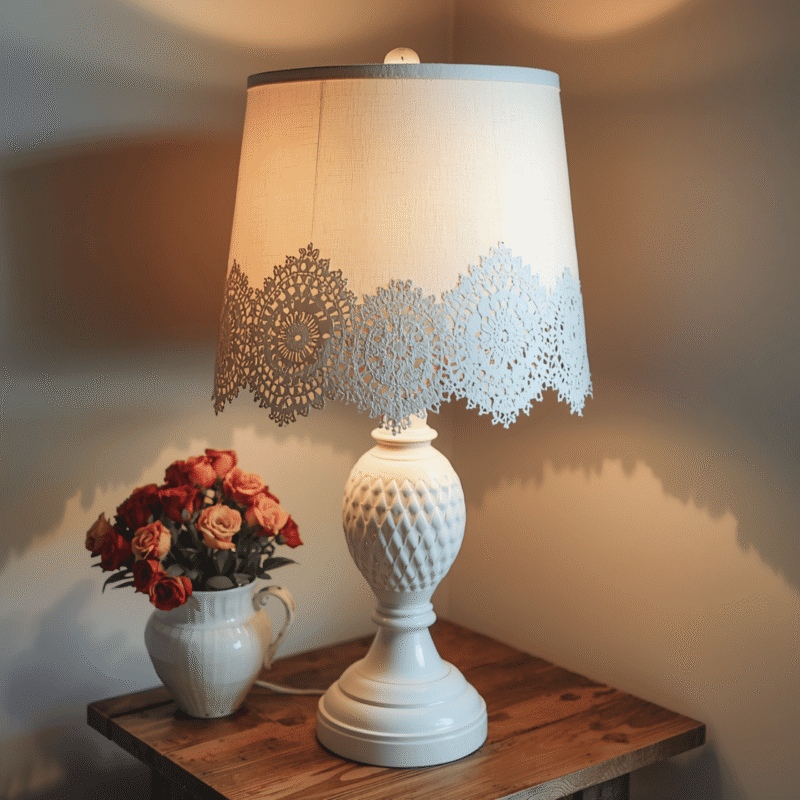
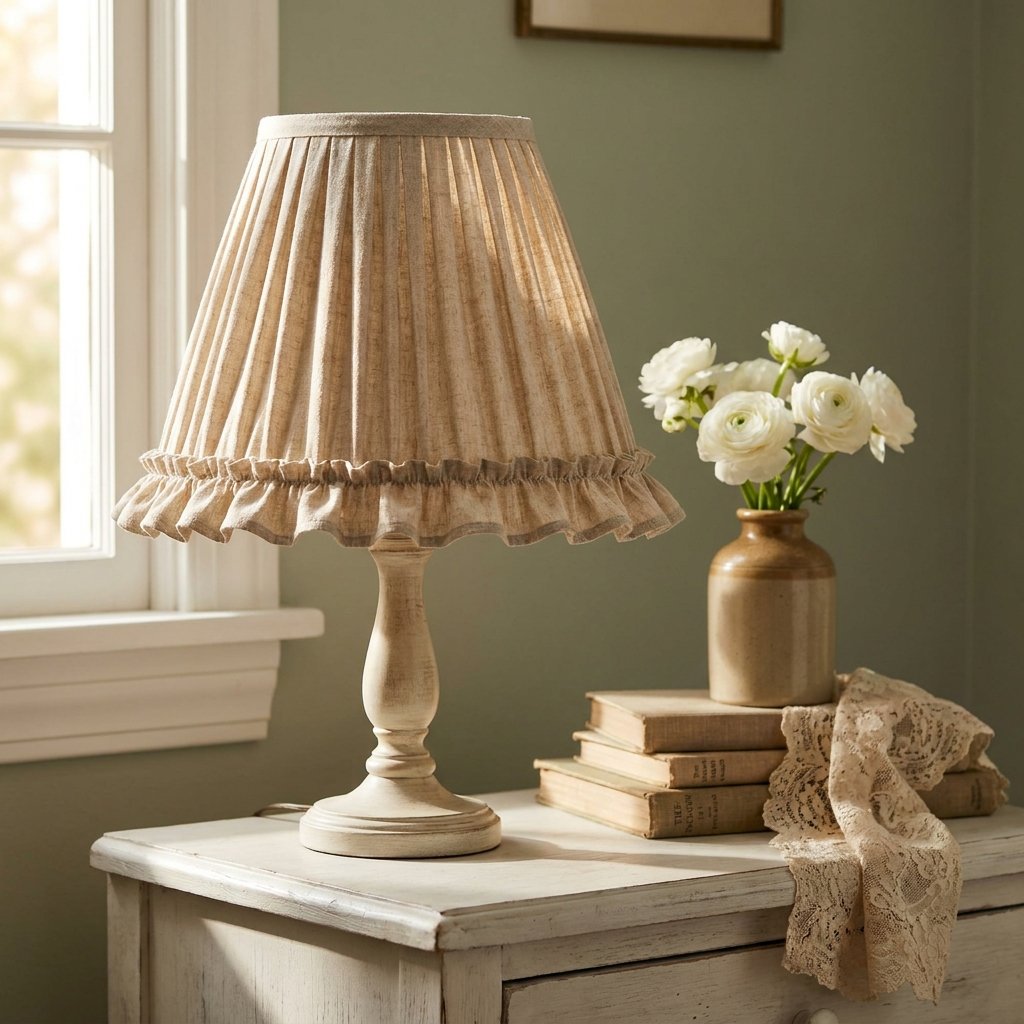
There’s a certain kind of lamp that stops you mid-scroll. The lampshade is soft, textured, almost edible-looking — like something that belongs in a sun-washed Parisian apartment next to linen curtains and a chipped porcelain vase. Nine times out of ten, that dreamy texture comes from one simple trick: fabric ruffles.
This DIY French vintage ruffle lampshade tutorial shows you exactly how to turn a plain, forgettable lampshade into a romantic statement piece using nothing but fabric, a hot glue gun, and a free afternoon. No sewing machine, no complicated pattern, no boutique price tag.
Whether you’re refreshing a bedroom, a reading nook, or a nursery, this ruffled lampshade makeover brings instant French country charm and soft, feminine texture into the room — and it costs a fraction of what a similar shade sells for in a designer home shop.
Why This French Vintage Ruffle Trend Isn’t Going Anywhere?
Ruffled textiles read as “vintage” and “romantic” almost instantly, which is exactly why shabby chic and French country decor keep coming back around. There’s something about the imperfect, hand-gathered texture of fabric ruffles that a printed pattern or a store-bought shade just can’t replicate — it looks collected, lived-in, and a little bit heirloom, even when it’s brand new.
It’s also one of the most forgiving DIY home decor projects out there. There’s no precision cutting, no pattern matching, and small imperfections in the gathers actually make the finished piece look more authentic, not less. If you’ve been circling ways to bring a softer, more romantic mood into a room without a full redecorating budget, this is one of the highest-impact, lowest-cost changes you can make.
What You’ll Need
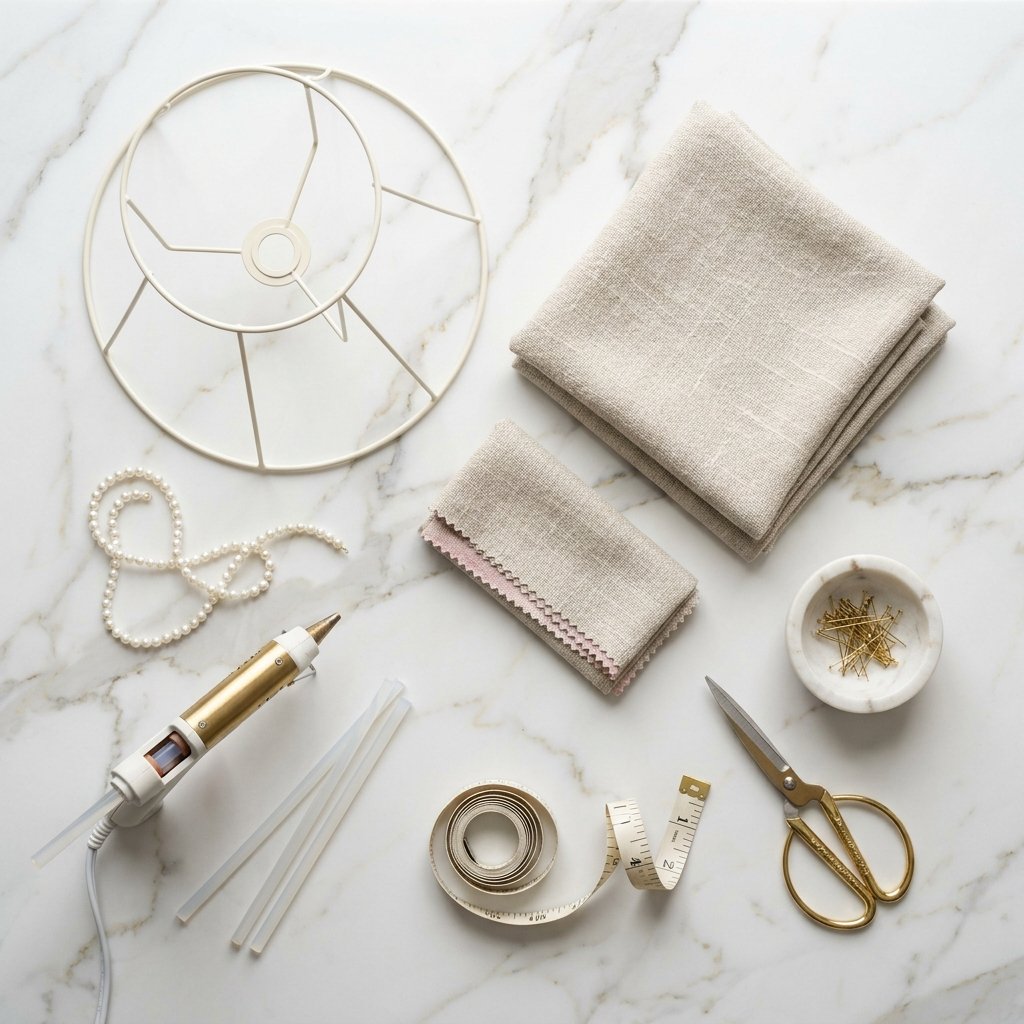
- Plain drum or empire lampshade frame — a simple straight or gently tapered wire frame is easiest to work with. If you don’t already have one to upcycle, shop lampshade frames like this one →

- Lightweight fabric, 2–3 yards — cotton voile, muslin, or a soft linen blend all gather beautifully. Ivory, oatmeal, or cream give the most authentic French vintage look. You’ll use this same fabric for the main gathered panel, the bottom ruffle trim, and the top finishing band. Shop linen or cotton voile fabric →

- High-temp hot glue gun + extra glue sticks — this is the tool that makes the whole no-sew method possible, so don’t skimp here.

- Fabric scissors or pinking shears — pinking shears give the ruffle trim a pretty, frayed raw edge that adds to the vintage texture.

- Fabric measuring tape

- Fabric marking pen or tailor’s chalk

- Straight pins — handy for holding gathers in place while the glue sets.
- Optional embellishments — faux pearl trim, small fabric rosettes, or vintage-style buttons for the final French touch.

- Iron and ironing board (optional, but helpful for pressing the fabric panel before gathering)


How to DIY French Vintage Ruffle Lampshade Step by Step
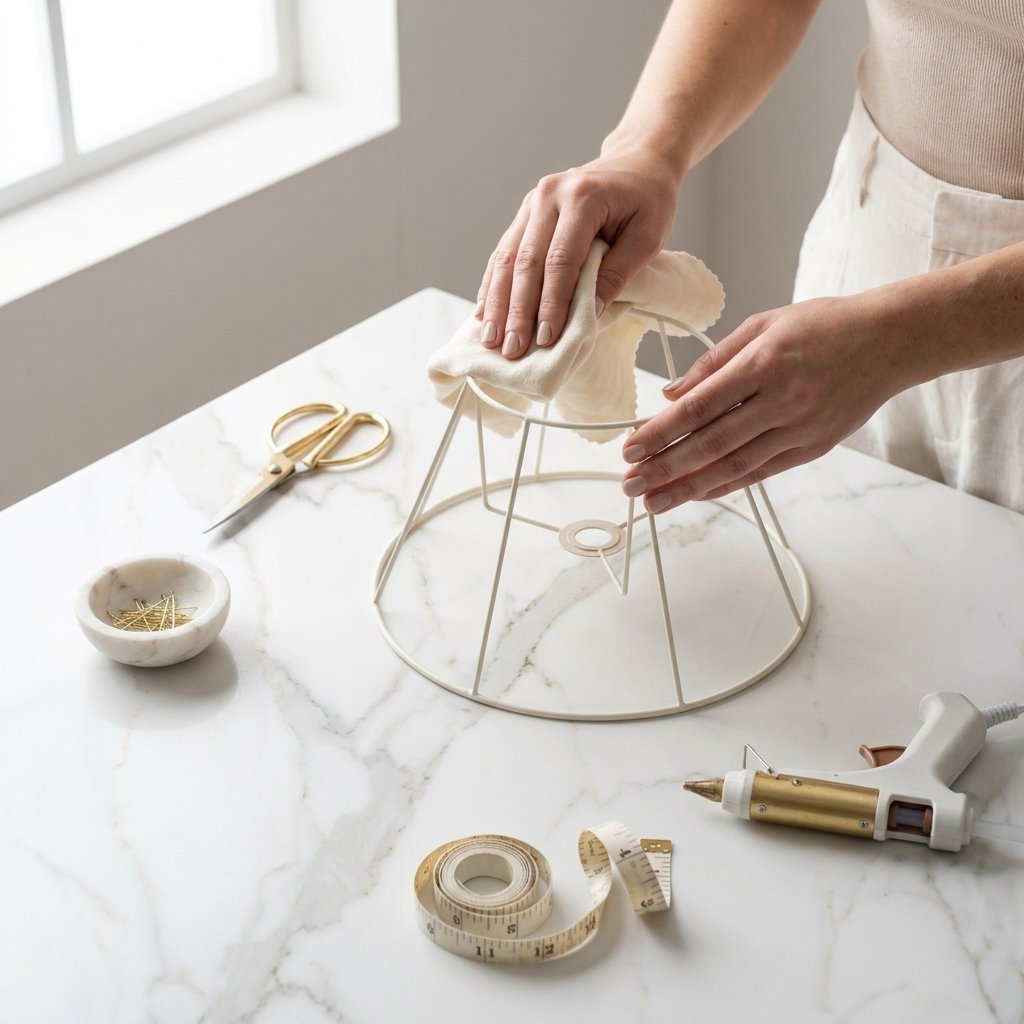
Step 1: Prep Your Lampshade Frame
If you’re upcycling an old shade, remove the existing fabric or trim down to the bare wire frame, then wipe both the top and bottom rings clean. If the frame has any rust spots or a slippery coated finish, a light pass with fine sandpaper on the rings helps the hot glue grip properly instead of sliding off once it cools.
Step 2: Measure Your Lampshade
Measure the circumference of both the top ring and the bottom ring, plus the slant height from the top ring down to the bottom ring. These three numbers tell you exactly how much fabric to cut. For a standard 10-inch tall tapered shade, you’re typically working with roughly an 18-inch top circumference and a 34-inch bottom circumference.
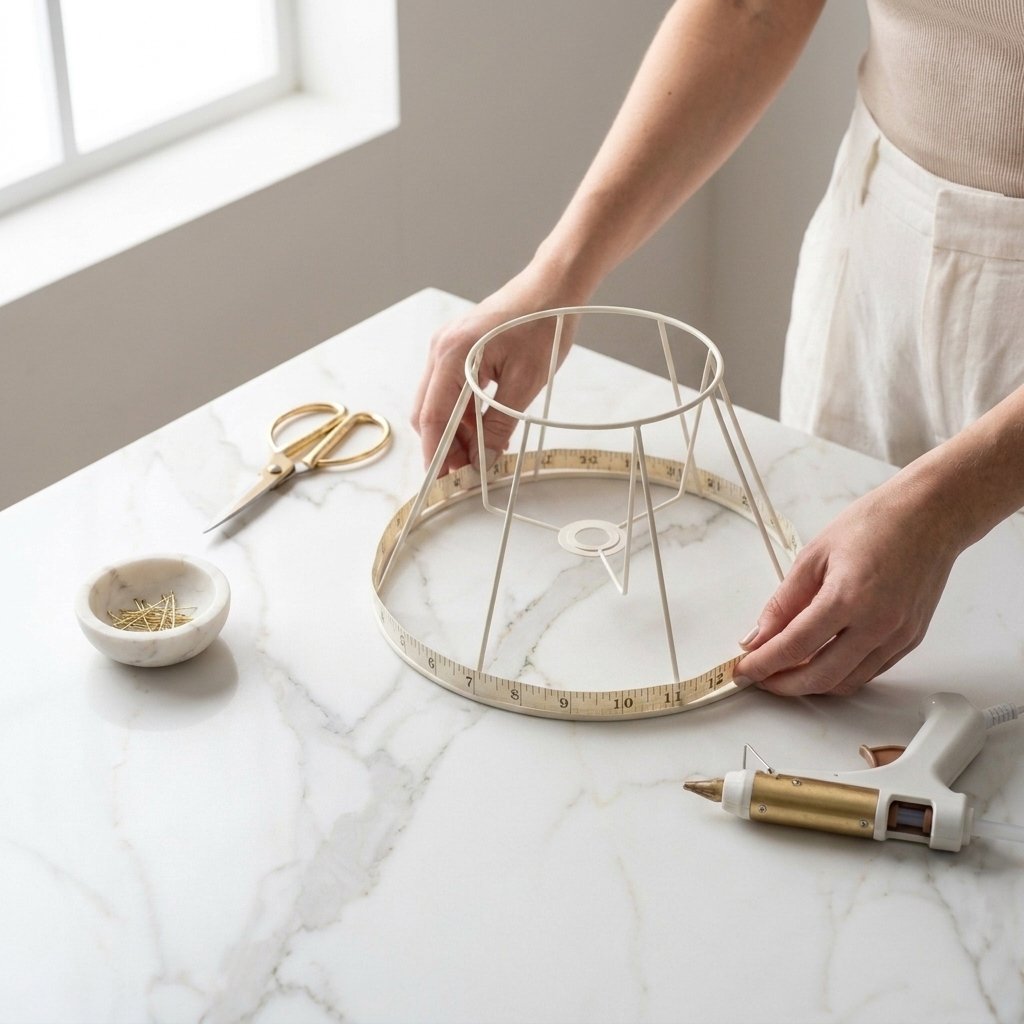
Step 3: Cut Your Fabric Panel and Ruffle Trim Strip
Cut one large rectangle for the main panel: the height should be your shade’s slant height plus about 2 inches (1 inch of allowance to gather over the top ring, 1 inch for the bottom ring), and the width should be about 1.75 to 2 times your bottom circumference for soft, even fullness. Then cut a second, separate strip about 4–5 inches wide and roughly 1.5 to 2 times your bottom circumference in length — this becomes your ruffled bottom trim. If you’re using pinking shears, run them along both long edges of this second strip so the raw edge frays just slightly, adding to that soft, worn-in vintage texture. Finally, cut a third, narrow strip about 2–3 inches wide and equal to your top circumference plus an inch — this becomes the clean finishing band for the top edge.
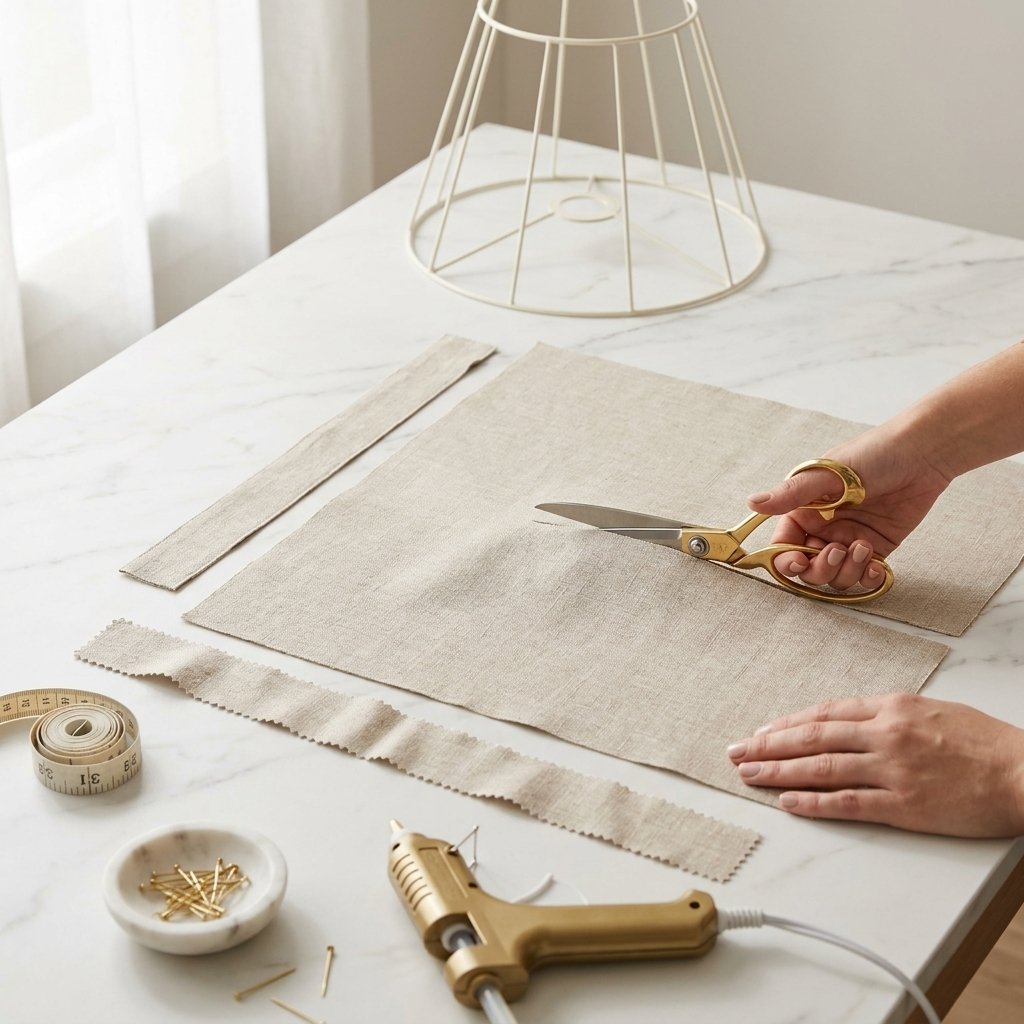
Step 4: Gather and Attach the Top Edge
Starting with your large main panel, work in short 2–3 inch sections around the top ring: run a thin bead of hot glue along the ring, then pinch the top edge of the fabric into small, soft folds and press them into the glue. Continue all the way around the top ring until the entire top edge is gathered and secured, keeping the folds a little irregular rather than perfectly even — loose, organic gathers read as romantic and vintage, while forcing them into uniform pleats reads as stiff and modern. Leave the rest of the panel hanging loose for now.
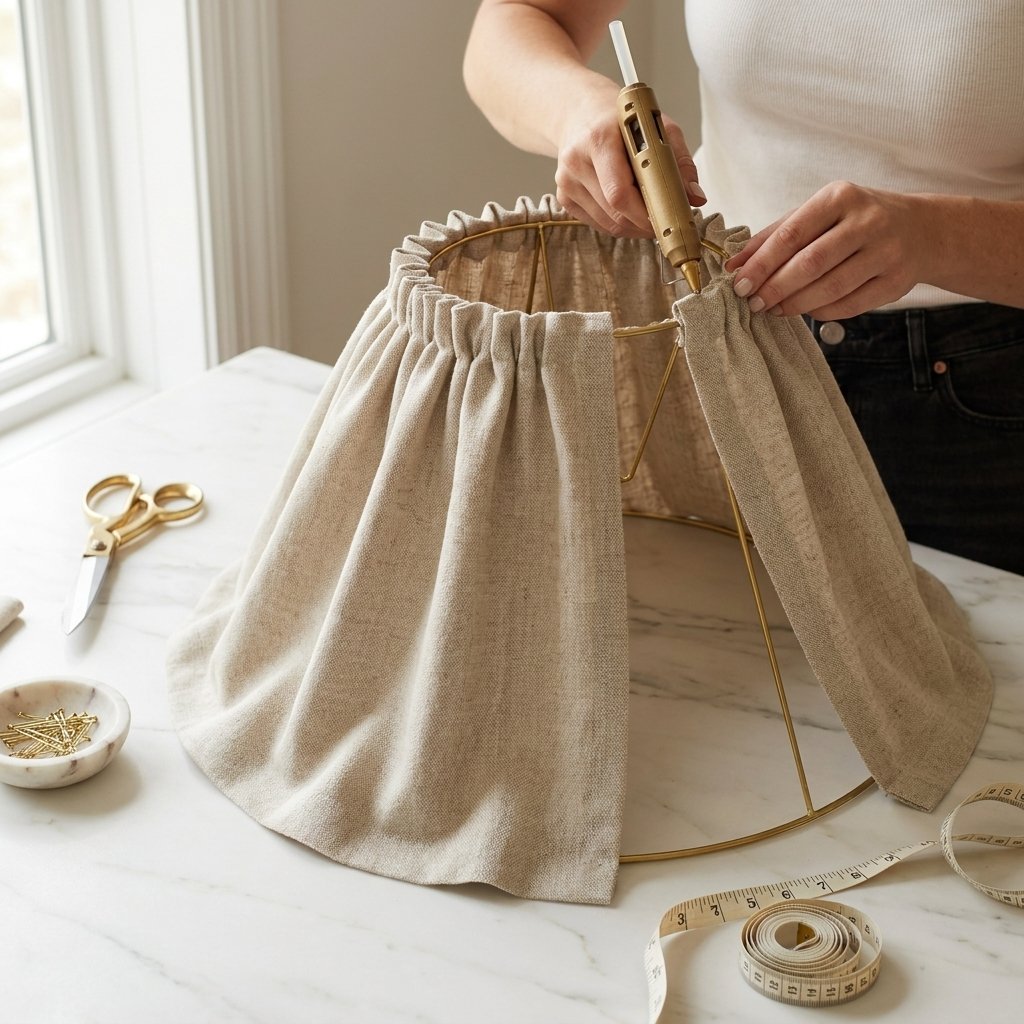
Step 5: Gather and Attach the Bottom Edge
Bring the fabric down and around the bottom ring, then repeat the same pinch-and-glue process along the bottom edge, working in short sections and adjusting the gather fullness so it sits evenly around the wider circumference. Once both edges are secured, the fabric between them will fall into soft, even vertical folds on its own — this is what gives the finished shade its gently pleated, gathered body. Glue the vertical seam where the two short ends of the panel meet, positioning it toward the back of the shade near where the cord will sit so it stays hidden.
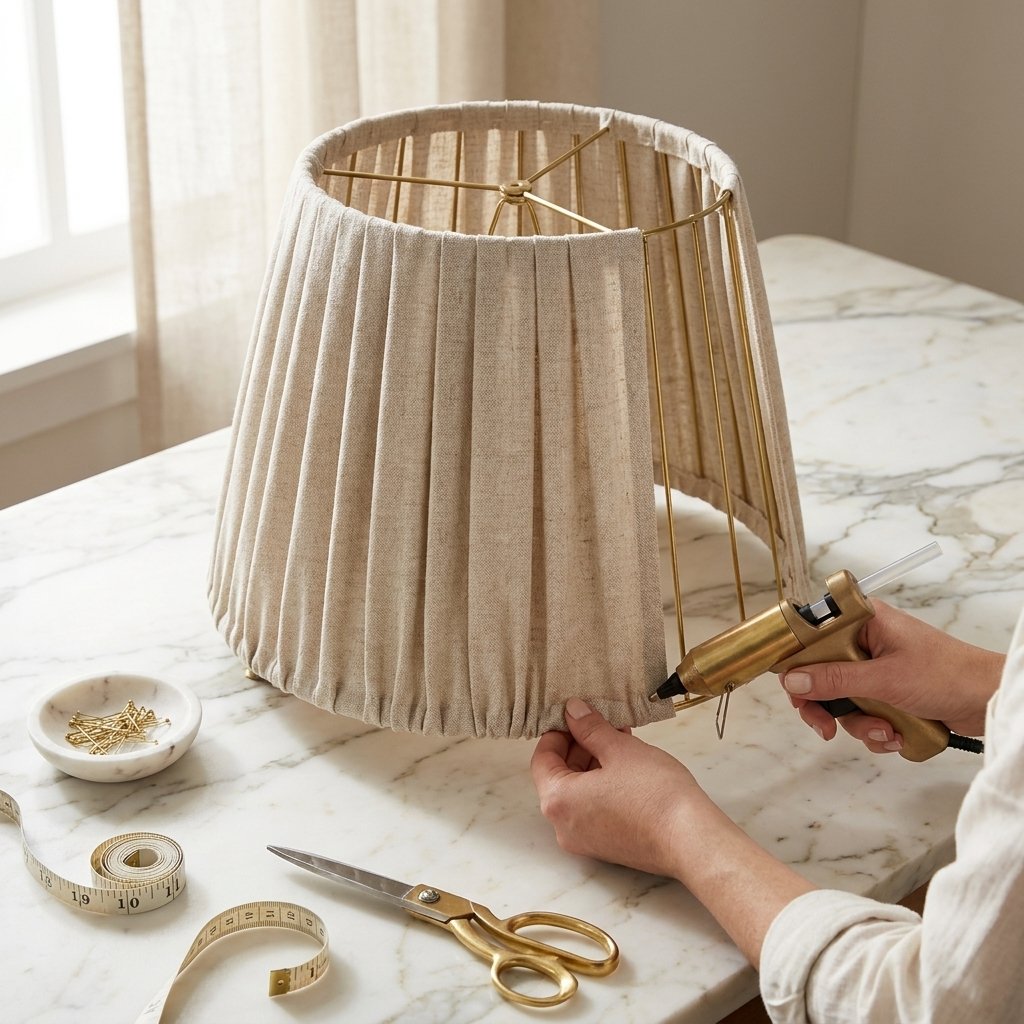
Step 6: Add the Ruffle Trim
Take your pinked-edge trim strip and gently gather it by hand the same way you gathered the main panel. Glue it around the bottom rim of the shade, directly over the seam where the main panel’s bottom edge meets the ring, letting it flounce out slightly below the bottom edge for dimension. This is the detail that gives the shade its soft, ruffled hemline.
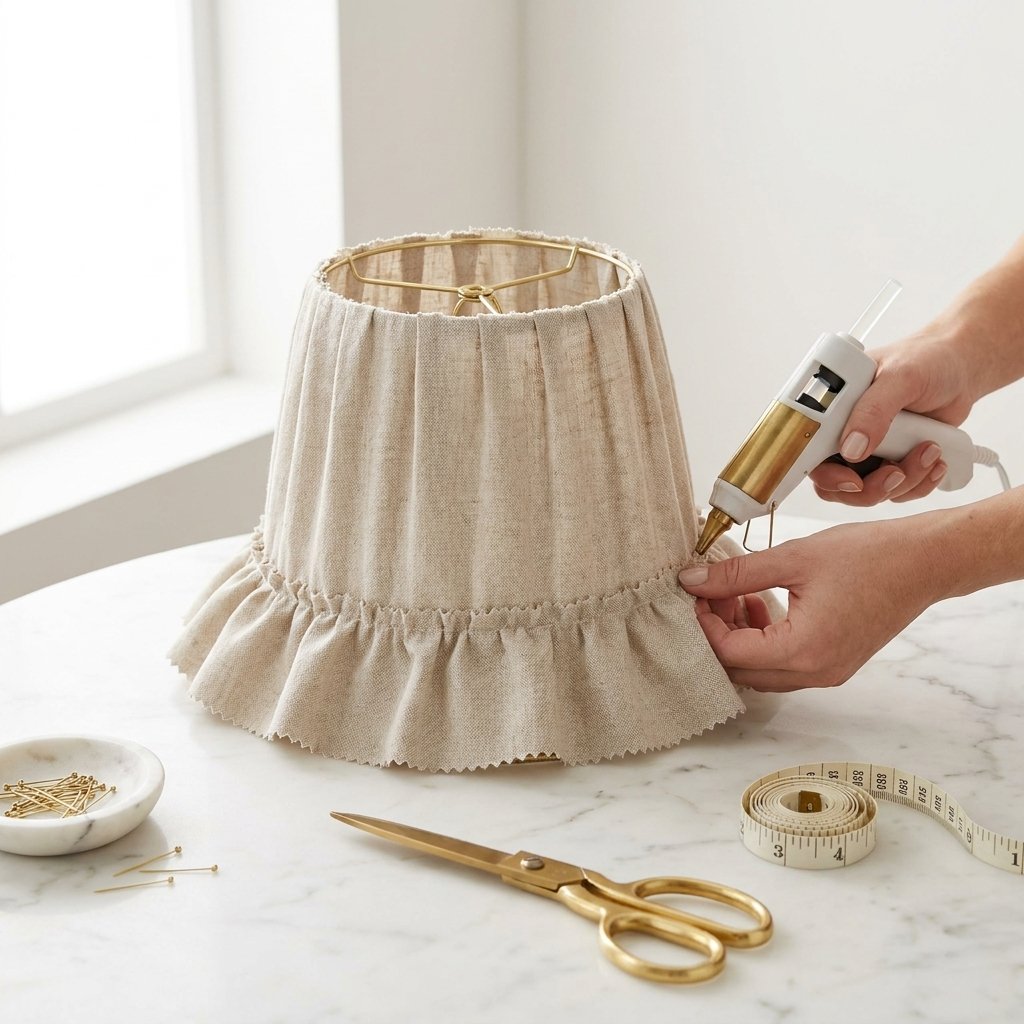
Step 7: Finish the Top Edge with a Clean Band
Take your narrow top-band strip and glue it smoothly (no gathering this time) around the top ring, covering the raw seam from Step 4 and giving the shade a neat, finished edge right where it meets the harp.
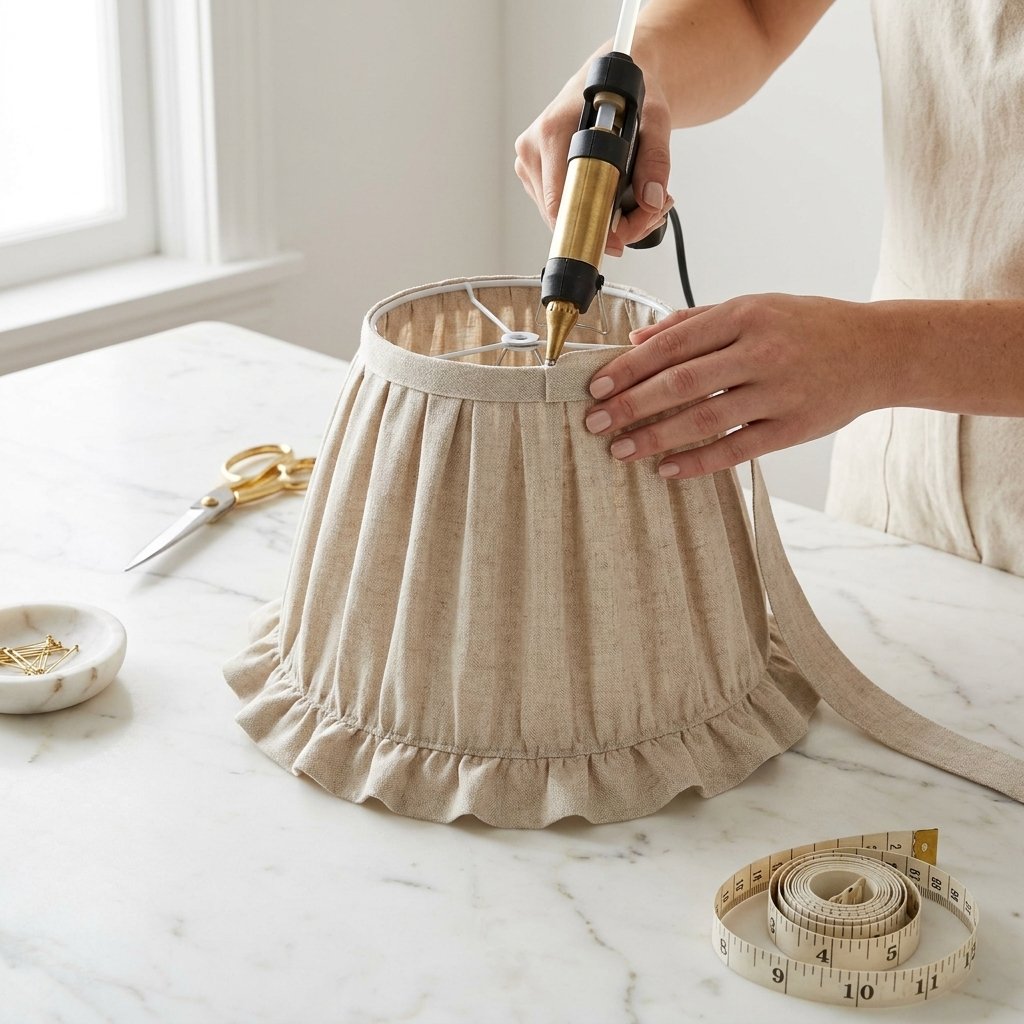
Step 8: Add the Final French-Inspired Details
This is where the shade goes from “nice DIY” to “where did you find that?” Add a line of faux pearl trim along the top band, a few small fabric rosettes tucked into the gathers, or vintage-style buttons at intervals for extra texture. Let everything cure for 30–60 minutes before placing the shade back on its base.
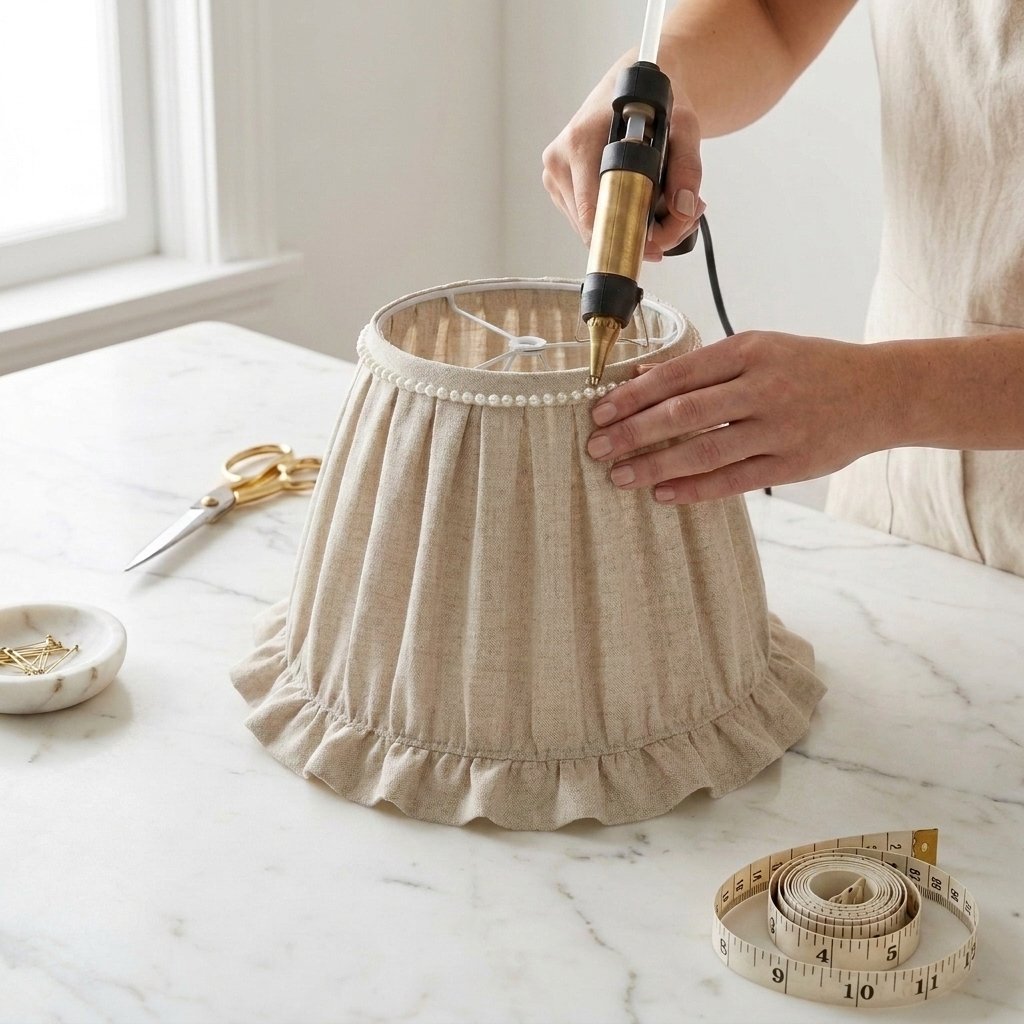
Pro Tips for Flawless Ruffles
- Use LED bulbs. They run cool, unlike incandescent bulbs, which reduces any risk of the fabric or glue overheating near the bulb — always worth the swap on a fabric-covered shade.
- Work in short sections. Gluing more than 2–3 inches ahead means you’re fighting glue that’s already cooled.
- Embrace imperfect gathers. Uneven folds look hand-finished and vintage; forcing them into perfectly even pleats actually works against the aesthetic you’re going for.
- Test your fabric first. Cut one scrap strip and gather it before committing your whole yardage, so you know exactly how much a given fabric frays or shrinks when gathered.
- Let the top edge fully set before pulling the bottom taut. Especially with a heavier fabric, gluing the bottom edge too soon can pull against a top gather that hasn’t cured yet and distort your pleats.
Style Variations to Try
- Blush pink ruffles for a romantic nursery or girl’s bedroom
- Sage green or dusty blue for a softer French farmhouse look
- Ivory body with a black ticking-stripe trim for a more tailored French bistro feel
- Mixed vintage lace layered into the bottom trim for a true upcycled, heirloom-style shade
Final Thoughts
A ruffled lampshade is one of those small changes that quietly resets the whole feel of a room. It’s soft, it’s textured, it photographs beautifully in natural light, and it costs a small fraction of what a similar piece would run in a boutique home shop. Save this tutorial for the next time you’re ready for a low-cost, high-impact refresh — and if you make one, style it somewhere the afternoon light can catch those ruffles.
Related Posts:
- DIY Pleated Lampshade: No-Sew Fabric Tutorial Step by Step
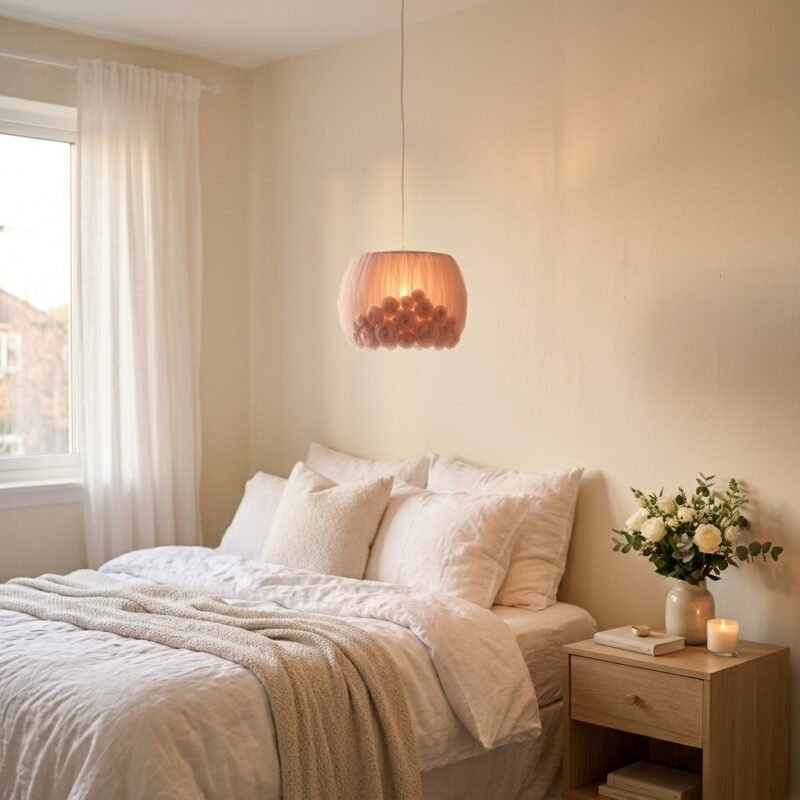
- 7 Steps No-Sew DIY Tulle Lampshade: Pink Pendant Light
Frequently Asked Questions
- Is this project good for total beginners?
Yes — this is one of the most forgiving fabric DIYs out there, precisely because the ruffles are meant to look a little loose and imperfect. There’s no pattern to follow and no precision cutting required. If you can hold a hot glue gun and pinch fabric between your fingers, you can make this project. Spend 10–15 minutes practicing the gathering technique on a scrap strip before starting on the actual shade, and you’ll have the rhythm down quickly.
- How long does this DIY project take?
Most people finish a standard 10–12 inch drum shade in about 2 to 3 hours of active work. It’s easy to split across a couple of sessions too, since the top edge, bottom edge, and trim can each be completed and left to set independently. Budget another 30–60 minutes at the end for the glue to fully cure before handling or displaying the finished shade.
- How much does it cost to make a French vintage ruffle lampshade?
Expect to spend roughly $15–30 on fabric and trim if you’re upcycling a lampshade you already own, or a bit more if you’re buying the base shade new as well. That’s a fraction of what similar ready-made ruffled lampshades often sell for in boutique home shops, where prices commonly start well above $80.
- What size lampshade should I start with for my first ruffle project?
A small to medium drum or tapered shade, roughly 8–10 inches tall, is the easiest starting point. It needs less fabric and a shorter gathering process, so you’ll finish faster and build confidence with the technique before tackling a larger, more time-intensive shade.
- Do I need a sewing machine to make a ruffled lampshade?
No. This method uses a no-sew, hand-gather-and-glue technique from start to finish. If you do own a sewing machine, you can create more uniform gathers with a ruffler foot or a basic gathering stitch, then glue the pre-gathered panel and trim onto the shade instead — a nice option if you want a more precise, tailored look rather than the soft, organic texture this tutorial produces.
- What is the best fabric for a French vintage ruffle lampshade?
Lightweight, easy-to-gather fabrics work best — cotton voile, muslin, cotton lawn, or a soft linen blend. They hold a soft fold without becoming bulky, which keeps the gathers looking delicate rather than stiff. Heavier fabrics like quilting cotton or linen blends can work too, but they’ll need slightly more fullness in the width since they don’t compress as easily when gathered.
- How much fabric do I need?
For a standard 10–12 inch tall drum or tapered shade, plan on 2–3 yards of 44–45 inch wide fabric — enough for the main gathered panel, the bottom ruffle trim, and the top finishing band. Larger shades or extra-full gathers will need more. As a rule of thumb, buy an extra half yard beyond your estimate so you’re not caught short mid-project if a piece comes up short or gets damaged while cutting.
- What can I use if I don’t have a hot glue gun?
A strong fabric glue is the best substitute, though it takes longer to set, so you’ll need to pin gathered sections in place while it dries rather than working freehand. Avoid all-purpose craft glue or white glue — they don’t create a strong enough fabric-to-fabric bond for a piece that gets dusted and handled regularly.
- How do I keep my gathers even as I work around the shade?
Work in short 2–3 inch sections rather than trying to gather a long stretch all at once, and pause every few inches to check that the fullness looks the same as the section before it. If one area looks tighter or looser than the rest, it’s much easier to adjust immediately than after the glue has fully set.
- Can I use this technique on any lampshade shape?
It works best on drum or slightly tapered empire shades. Bell-shaped or scalloped shades are doable but need more fitting and patience around the curves, since the gathered panel has to compress or expand slightly to follow the changing circumference.
- Will the ruffles droop or lose their shape over time?
A well-glued shade made with lightweight fabric should hold its shape for years of normal use. The most common cause of drooping is gluing the bottom edge before the top gather has fully cured, which lets the fabric’s weight pull against glue that hasn’t set yet. If a section does loosen down the line, a small dab of fresh hot glue tucked underneath fixes it in seconds.
- Can I remove the ruffles later if I change my mind?
Yes, though it takes a little patience. Hot glue generally peels away from lampshade frames without damaging them once you work a seam ripper or your fingernail gently under an edge and pull slowly. Any leftover glue residue usually comes off with a bit of rubbing alcohol on a cloth, leaving the frame ready to reuse for a different project.
- How do I clean a ruffled fabric lampshade?
Light, regular dusting with a soft brush attachment or a hair dryer on the cool setting is the safest approach. Avoid water or liquid cleaners, since hot glue doesn’t hold up well to moisture and prolonged dampness can also cause the fabric to shrink or pucker unevenly.
- Is a fabric-covered lampshade a fire hazard?
It can be if you’re not careful, so a couple of precautions matter: use an LED bulb rather than incandescent, since LEDs run much cooler, and make sure there’s a few inches of clearance between the bulb and the inside of the shade. Never leave a fabric-covered shade lit unattended for long stretches, and check periodically that the fabric hasn’t shifted closer to the bulb over time.
- Can I use this same ruffle technique on other home decor pieces?
Absolutely — the same pinch-and-glue gathering method works on throw pillow edges, curtain tiebacks, small storage baskets, or even a mirror frame for a coordinated, French-inspired room. The lampshade is simply one of the fastest, highest-impact places to start.