As an Amazon Associate we earn from qualifying purchases. Here’s how it works.
Achieve that rich, layered, Tuscan-inspired chalky wall texture yourself — in one afternoon, for one-tenth the price of a professional.
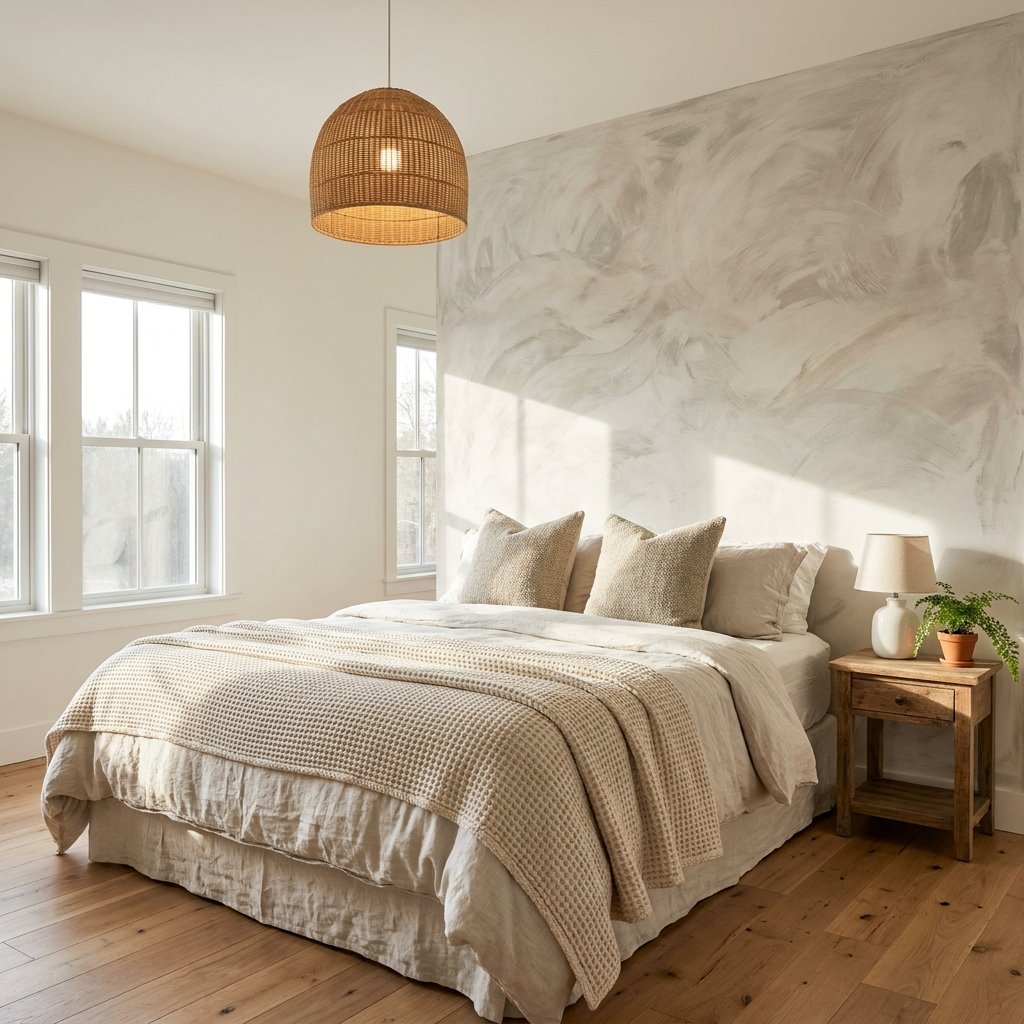
You know that wall texture. The one that makes a bedroom look like it was pulled from a Tuscan farmhouse or a luxe boutique hotel in Santorini. Layered, organic, chalky-soft — almost like the wall itself has a history. Like someone built it centuries ago and time added all the depth.
That’s limewash. And the interior design world has been completely obsessed with it for the past three years — for good reason.
Here’s what nobody tells you upfront: you can DIY limewash bedroom wall for about $30. One afternoon. No professional. No special training. Just a wide brush, a can of limewash paint, and a wall that’s ready for a glow-up.
This tutorial covers everything — from what limewash actually is, to the exact technique that gives you that beautifully imperfect depth, to how to avoid the three mistakes most beginners make.
Let’s get into it!
What Is Limewash Paint? (And Why Is Everyone Obsessed?)
Limewash is one of the oldest wall finishes in the world — it’s been used on Mediterranean villas, Italian churches, and farmhouses across Europe for literally thousands of years. Traditional limewash was made from slaked lime (burnt limestone mixed with water), which created a chalky, breathable, slightly translucent finish that absorbed into masonry and aged beautifully over time.
Modern limewash paint — the kind we’re using in this tutorial — is a ready-to-use water-based formula that replicates that same organic, layered look on standard painted drywall, plaster, or brick. No masonry required. No traditional lime-making skills required. Just a wall, a brush, and the right technique.
Why is it trending so hard right now?
The honest answer is that people are exhausted by flat, perfect walls. Limewash offers something different — texture with soul. It photographs beautifully in warm light, it pairs with every design aesthetic from cottagecore to minimalist to Mediterranean, and it creates a feeling of warmth and depth that no amount of throw pillows can fully replicate.
Interior designers charge $300–$800+ to apply limewash to a single bedroom wall. The DIY version costs $25–$35 in supplies and genuinely looks comparable — sometimes better, because the slight imperfections of a hand-applied technique add authentic character that a professional’s perfect application can’t.
What makes limewash different from regular wall paint?
Regular paint sits ON TOP of your wall surface. Limewash is formulated to partially absorb INTO the surface and dry in translucent layers — meaning the base wall color shows through faintly, creating depth. When you apply multiple thin coats with different directions and pressure, the result is an organic variation in tone and texture that looks genuinely dimensional. It’s not flat. It breathes. It shifts as the light changes throughout the day.
Is This Right for Your Bedroom Wall?
Before you buy supplies, a few honest questions to check:
Wall type: Limewash works best on smooth drywall, plaster, and lightly textured walls. It can work on brick (and looks extraordinary there), but brick requires a different prep process not covered in this tutorial. If your bedroom wall is smooth or has only light texture, you’re in the ideal position.
Current paint finish: Flat and matte painted walls absorb limewash most naturally. Eggshell works well too. If your wall has a satin, semi-gloss, or gloss finish, lightly sand it with 220-grit sandpaper first — limewash needs micro-porosity to grip.
Color: Limewash is most commonly applied in white, off-white, warm grey, terracotta, and sage green tones. The most popular bedroom choice (and what this tutorial uses) is a warm chalky white over a light greige or white base wall. The contrast between the base and the limewash is what creates the beautiful depth.
Renters: Great news — limewash is fully paintable-over. If you rent and need to restore the wall when you leave, two coats of standard wall paint completely covers it. It’s far easier to reverse than wallpaper.
What You’ll Need: Complete Materials List
Must-Have Supplies
1. Limewash Paint This is the whole project. Modern limewash paint comes pre-mixed and ready to use — no lime-slaking required. Look for a water-based formula specifically labeled “limewash” or “limewash paint,” not standard chalk paint or mineral paint (different finish, different technique).
- Meoded Paint & Plaster — the commonly trusted brand among DIYers and interior designers. Available in warm white, natural stone, grey, and more. A single quart covers roughly 50–75 sq ft with two coats — enough for most accent walls.
- Suzuka Texture Paint— a more affordable alternative, available in a wide range of pre-mixed colors and also sold at select home improvement stores.


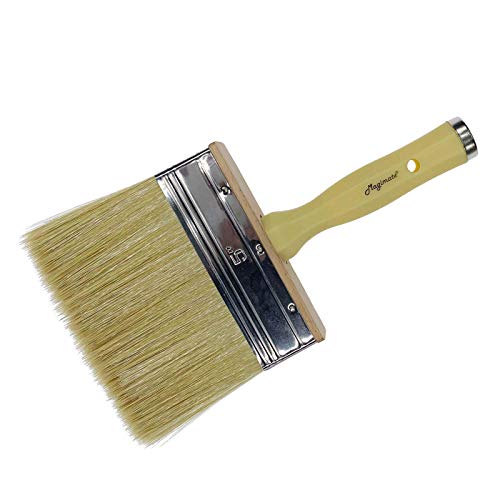
2. Wide Natural-Bristle Wall Brush (5″–6″) The brush is not optional to get right — it’s what creates the limewash look. You need a wide, thick, natural-bristle brush (NOT synthetic, NOT a roller). The natural bristles hold the right amount of paint, release it unevenly (intentionally), and create the directional brush marks that are the signature of the limewash technique.
- Magimate Deck Brush for Applying Stain — the most-recommended brush for limewash application. The thick bristle pack and wide head give you exactly the coverage and texture variation you need.
3. Spray Bottle (Water) You’ll mist the wall with clean water before each coat. This slows the drying time slightly, which gives you more time to work each section and creates softer, more blended edges. Any standard spray bottle works.
- JohnBee Spray Bottles — look for one with an adjustable nozzle for a fine even mist (not a jet stream).

4. Painter’s Tape (Low-Tack) To protect your baseboard, ceiling edge, trim, and any adjacent walls you don’t want limewashed.
- FrogTape Multi-Surface Painter’s Tape— the blue multi-surface version works well here. Apply it carefully to all edges before you start.

5. Canvas Drop Cloth Limewash is water-based and cleans up easily, but it will drip. Cover your floor entirely.
- Canvas Drop Cloth 9’×12′ — canvas is better than plastic here because it stays flat and doesn’t slip.

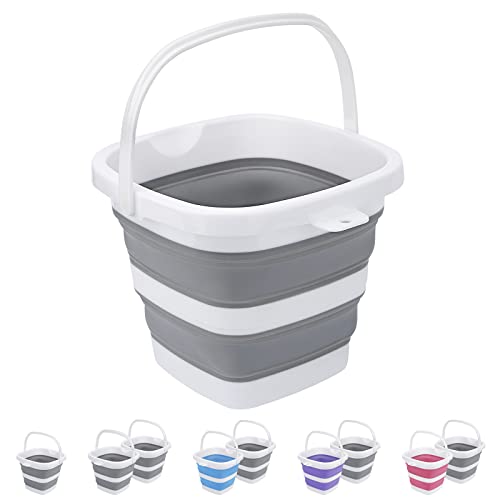
6. Small Mixing Bucket For diluting your limewash if needed (some formulas come ready-use, others need a small amount of added water). A 2-gallon plastic bucket works perfectly.

7. Wooden Mixing Stick For stirring the limewash thoroughly before use — it settles in the can.

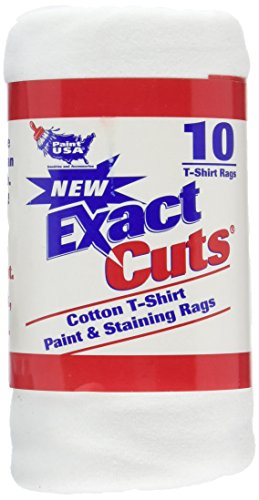
8. Clean White Cotton Rags For softening wet limewash, fixing mistakes, and cleaning up drips immediately.
Nice-to-Have Additions
- 3″ chip brush — for cutting in at ceiling and baseboard edges where your big brush can’t reach cleanly 👉 Natural Bristle Chip Brush 3-Pack →
- Rubber gloves — limewash is alkaline. If you have sensitive skin, wear gloves during mixing and application 👉 Nitrile Gloves Box →
- Painter’s plastic sheeting — if you have furniture you can’t fully move out of the room, drape it
- Small bucket of clean water — for diluting brush strokes mid-application and rinsing your brush between walls


How Much Does a DIY Limewash Bedroom Wall Cost?
| Item | Estimated Cost |
|---|---|
| Limewash paint (1 quart) | $15–$22 |
| Wide natural-bristle brush (5″) | $8–$14 |
| Spray bottle | $3–$5 |
| Painter’s tape | $5–$7 |
| Canvas drop cloth (if needed) | $8–$12 |
| Cotton rags | Usually already owned |
| Total Estimated Cost | $25–$40 |
Professional limewash finish for one wall: $300–$800+
The DIY saving is genuinely dramatic. And the result — especially after you’ve done your second coat and seen the depth emerge — is indistinguishable from the professional version to most eyes.
Before You Begin: Prep Work That Makes Everything Better
The limewash technique is forgiving in a way that most wall finishes aren’t — slight imperfections in application become part of the charm. But the one thing it doesn’t forgive is poor wall prep. The three prep steps below determine 80% of your final result.
PREP STEP 1 — Clean the Wall Thoroughly
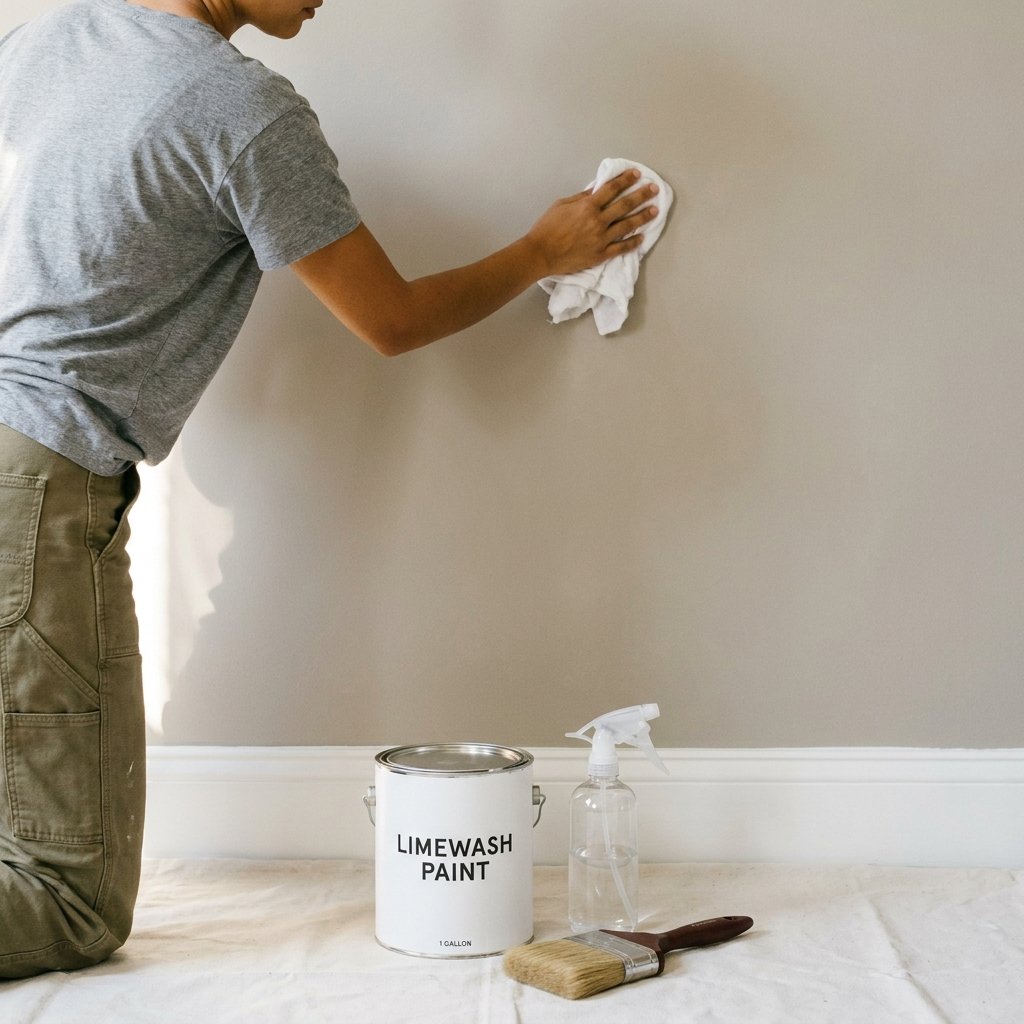
Wipe the entire wall you plan to limewash with a barely-damp cloth. You’re removing dust, oils, and loose debris. Pay extra attention to areas near light switches (fingerprint buildup) and baseboards (dust lines).
Let the wall dry for at least 30 minutes before moving to the next step.
Why this matters more than it seems: Limewash is thin and semi-transparent. Any surface contamination — dust, grease, residue — will show through the finish or cause uneven absorption. A five-minute wipe-down now prevents a patchy result later.
PREP STEP 2 — Tape All Edges
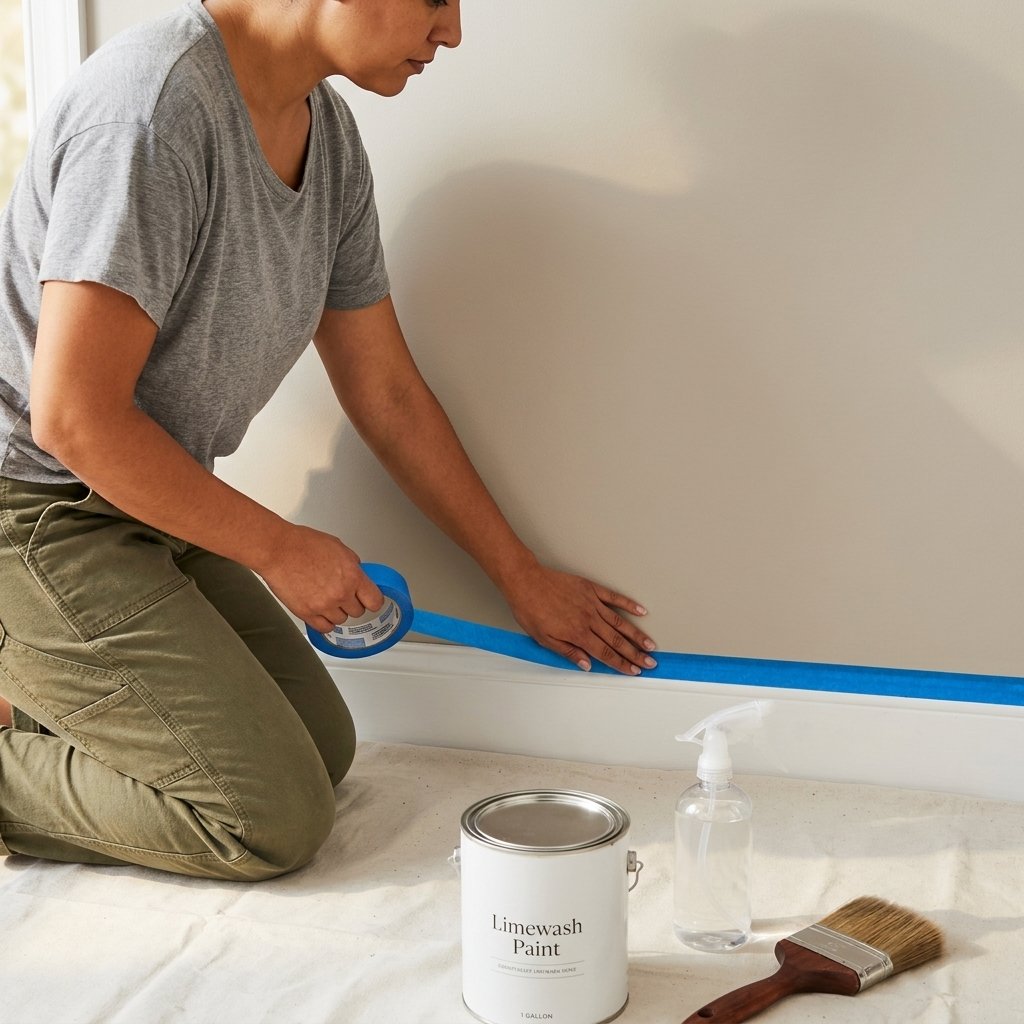
Apply blue FrogTape carefully to:
- The top ceiling edge (or crown molding)
- Both side wall edges where your limewash wall meets an adjacent plain wall
- Along the top of the baseboard
Press the tape firmly using your thumbnail or a putty knife edge — run it along the entire length to seal the edge completely. Any gap between the tape and wall will let limewash bleed underneath.
Pro tip: Apply the tape, then run a light strip of the limewash base paint color along the tape edge and let it dry. This seals the tape edge so even if limewash seeps slightly, it seeps the same color as the wall — not a contrasting shade.
PREP STEP 3 — Mix and Test Your Limewash
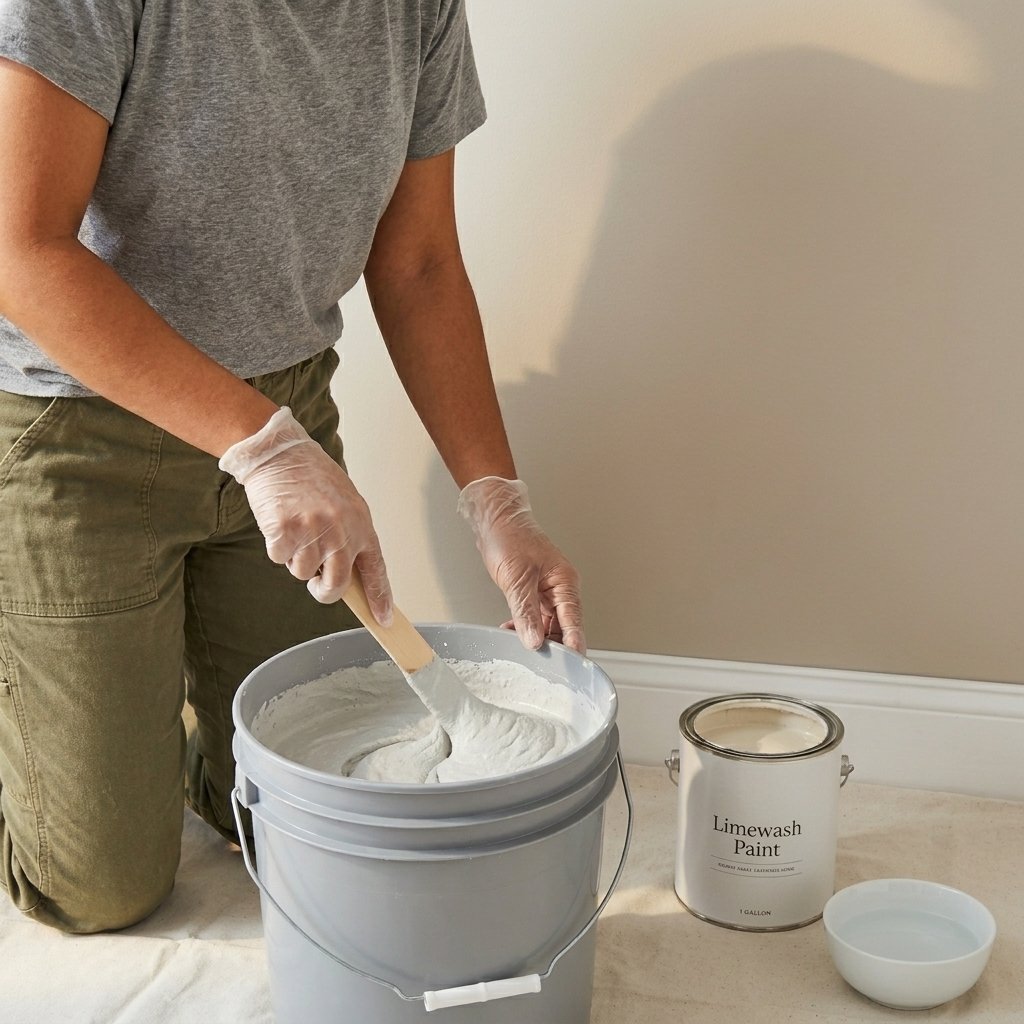
Most ready-mixed limewash paints (like Romabio Classico) are formulated to be used straight from the can for a first coat. However, always stir thoroughly before use — the chalky pigments and binders settle significantly during shipping and storage.
Once mixed, do a test patch first. Apply a small amount of limewash to an inconspicuous corner of the wall using the technique described in Step 4. Let it dry fully (20–30 minutes). This gives you two critical pieces of information:
- How opaque vs. translucent the first coat will be at this consistency?
- Whether you need to slightly dilute with water (add water 5–10% by volume for a sheerer first coat) or use it undiluted for more coverage
Note: Limewash always dries lighter than it looks when wet. The wet application will look much more saturated than the dried result — this is normal and expected.
The DIY Limewash Technique — Step by Step
This is the heart of the tutorial. Read through all the steps once before you begin — understanding the full sequence makes each step more intuitive when you’re actually applying paint.
The technique has a name in traditional limewashing: cross-hatching with wet-on-wet blending. It sounds complicated; it’s actually very intuitive once your brush hits the wall.
STEP 1 — Mist the Wall Section
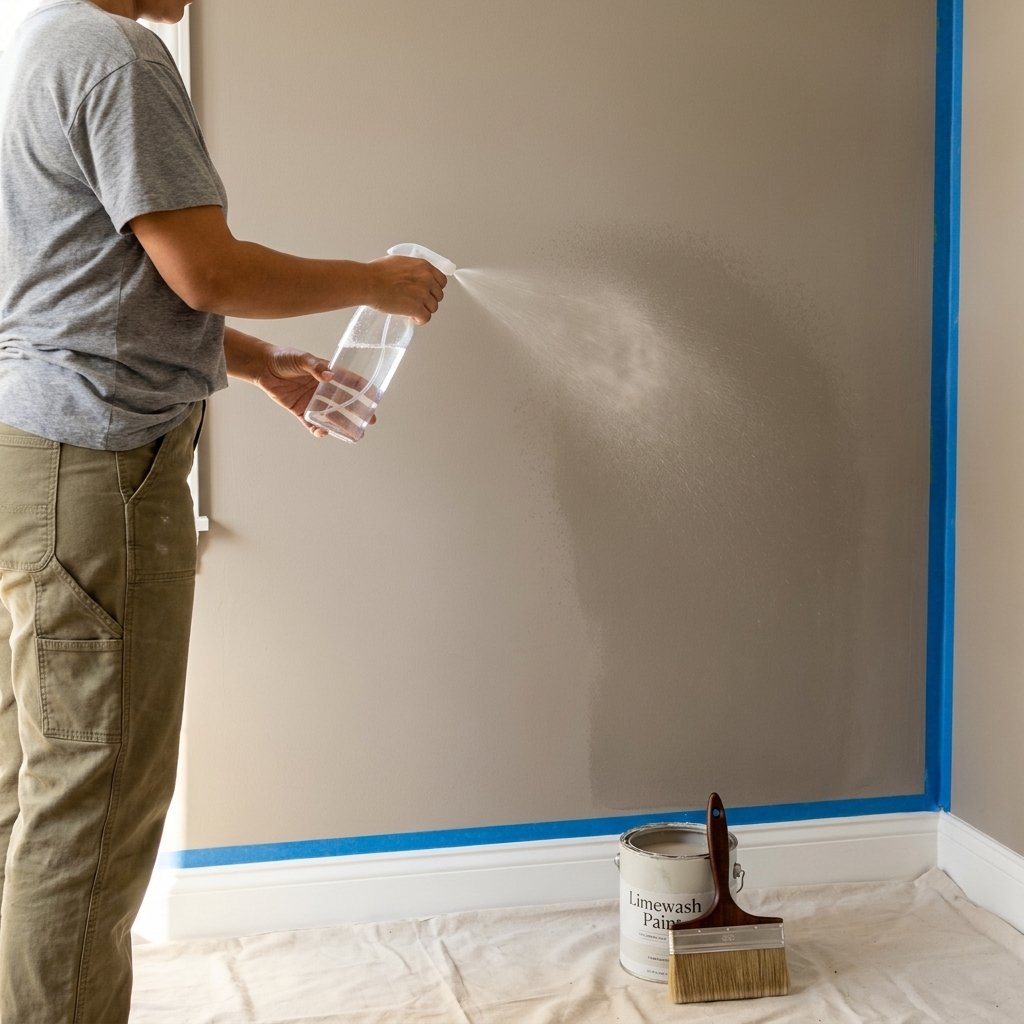
Work in sections — roughly 2′ × 3′ at a time (about the area you can comfortably reach and paint in 2–3 minutes before it dries). Before picking up your brush, lightly mist each section with your spray bottle until the wall surface looks slightly damp — not dripping wet, just visibly moistened.
Why mist? Limewash applied to a bone-dry wall dries very quickly and leaves hard edges between brush strokes. A lightly dampened wall gives you a 60–90 second longer working window and creates softer, more natural blending between brush strokes. The result looks less “painted” and more “aged.”
STEP 2 — Load the Brush and Apply First Diagonal Strokes
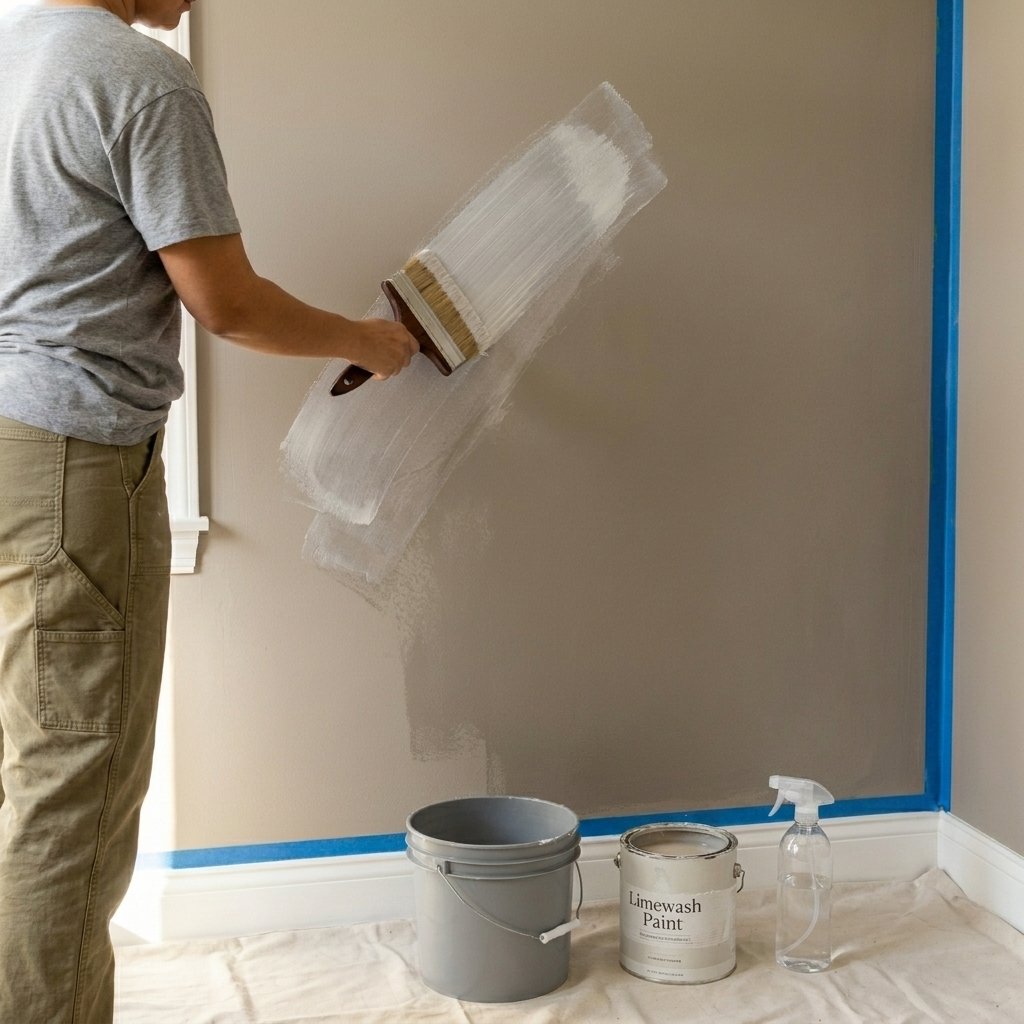
Dip your brush into the limewash — load the bristles to about halfway up their length. Don’t overload; you want the brush to feel “brushy” not dripping.
Apply strokes to the wall at a 45-degree diagonal angle, moving from lower-left to upper-right. Apply light-to-medium pressure. You’re not trying to cover the wall fully — you want the base wall color to show through in places. The strokes should be visibly directional, not scrubbed in.
Key: Vary your pressure within each stroke. Press harder at the beginning of the stroke and lighter as you pull through. This creates natural variation in opacity within a single brushstroke — exactly what gives limewash its dimensional character.
Apply 4–6 diagonal strokes across your 2’×3′ section, with slight gaps between them.
STEP 3 — Cross-Hatch with Opposite Diagonal Strokes
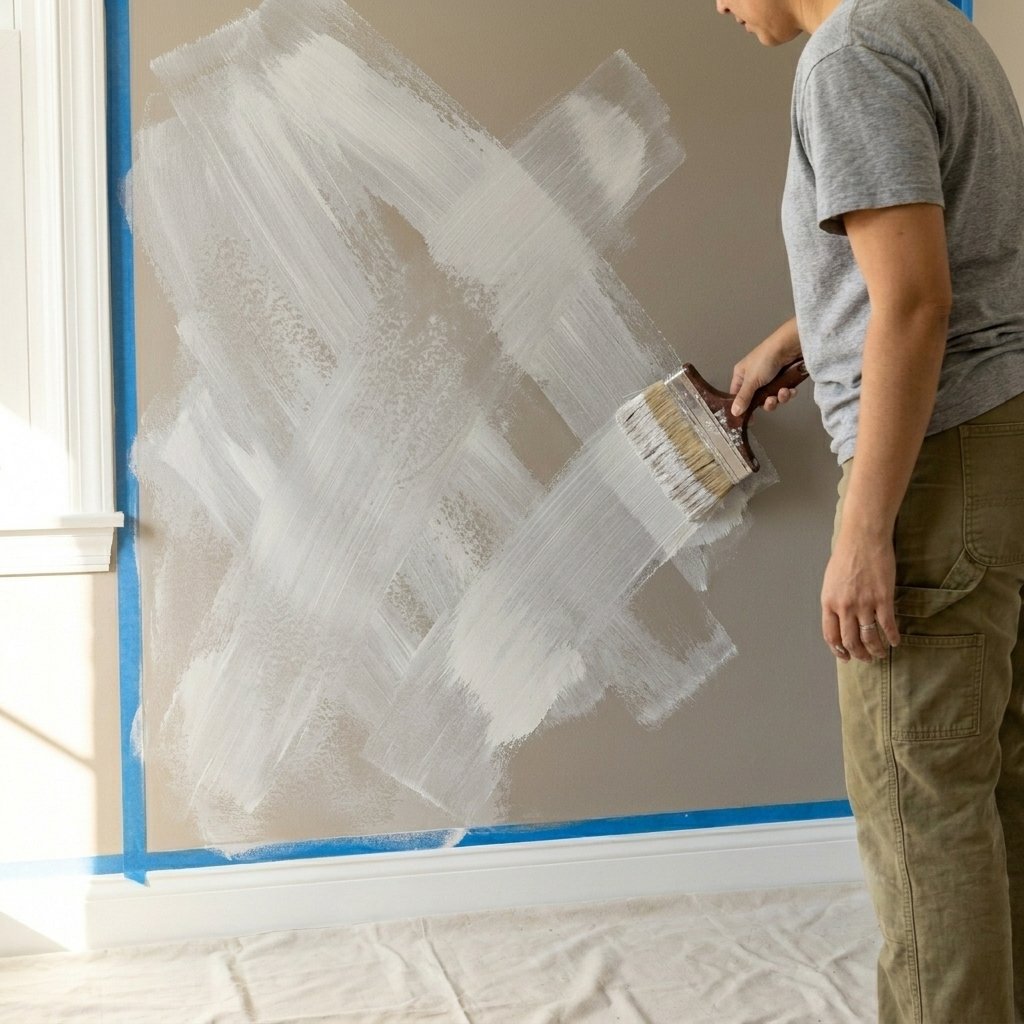
While the first diagonal strokes are still wet, apply a second set of strokes at the opposite 45-degree angle — now moving from lower-right to upper-left across the same section. These cross-hatch strokes intersect the first set while both are wet.
Where the two sets of strokes cross, the limewash builds slightly thicker — creating the mottled, layered depth that is the defining characteristic of the limewash look. The areas between strokes remain thinner and more transparent, showing the base wall color faintly.
You don’t have to be precise or perfectly systematic about this. Slight irregularity is not a flaw — it’s the point. Every section looking slightly different from the next is what makes it look authentically artisan rather than mechanically applied.
STEP 4 — Soften with a Dry-Brush Pass
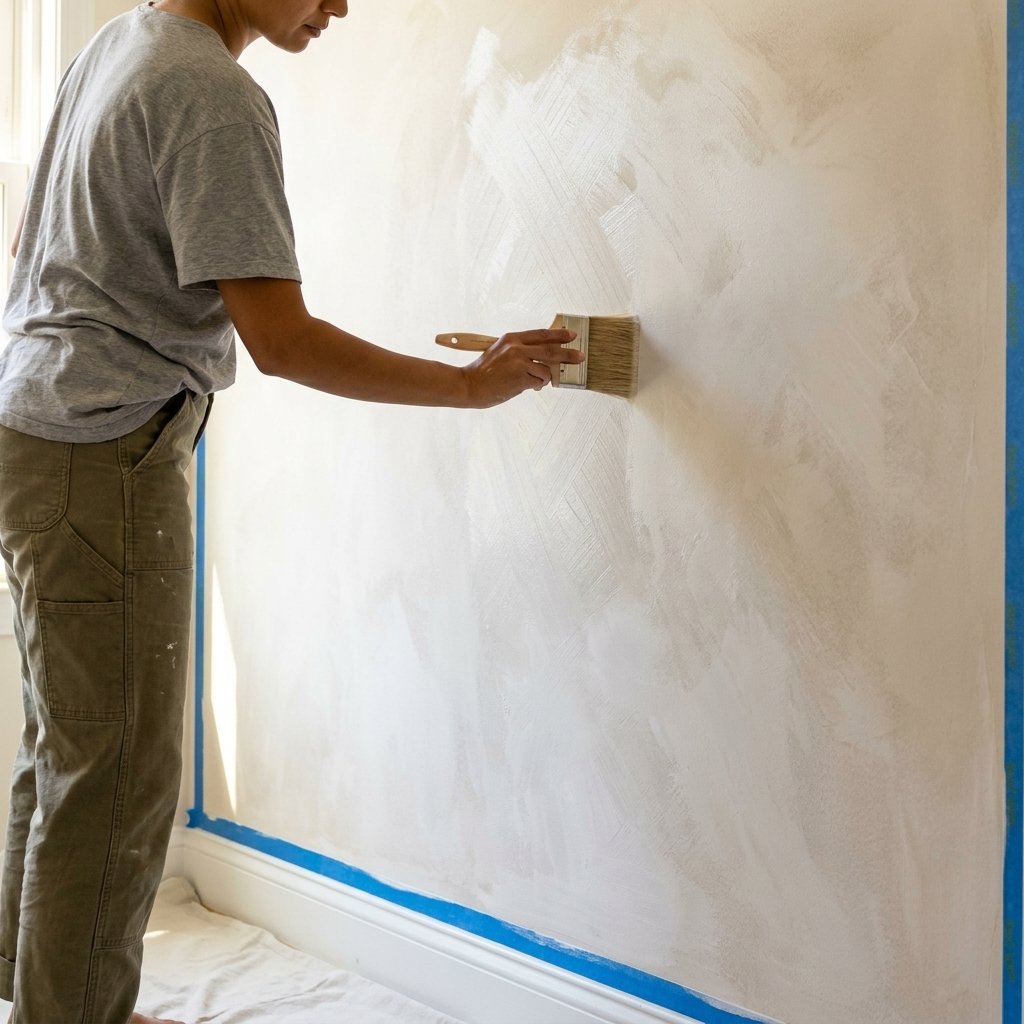
Before the section dries completely — within about 60–90 seconds of completing the cross-hatch — take your brush (now with most of the paint used up from the previous strokes) and make very light, barely-touching feathering passes over the section in random, multi-directional strokes. This is called “dry-brushing” even though the brush still has trace amounts of paint.
What you’re doing: softening the harder edges of the cross-hatch strokes so they blend into each other more organically. You’re not adding paint — you’re gently diffusing what’s already there.
Hold the brush loosely, almost at the end of the handle. Use your wrist, not your shoulder. The lighter the touch, the better the result.
After this dry-brush pass, step back and look at the section. You should see a beautifully organic, slightly mottled chalky texture with visible brush direction but soft, blended edges. This is exactly what you want.
STEP 5 — Work Across the Wall in Sections, Blending the Edges
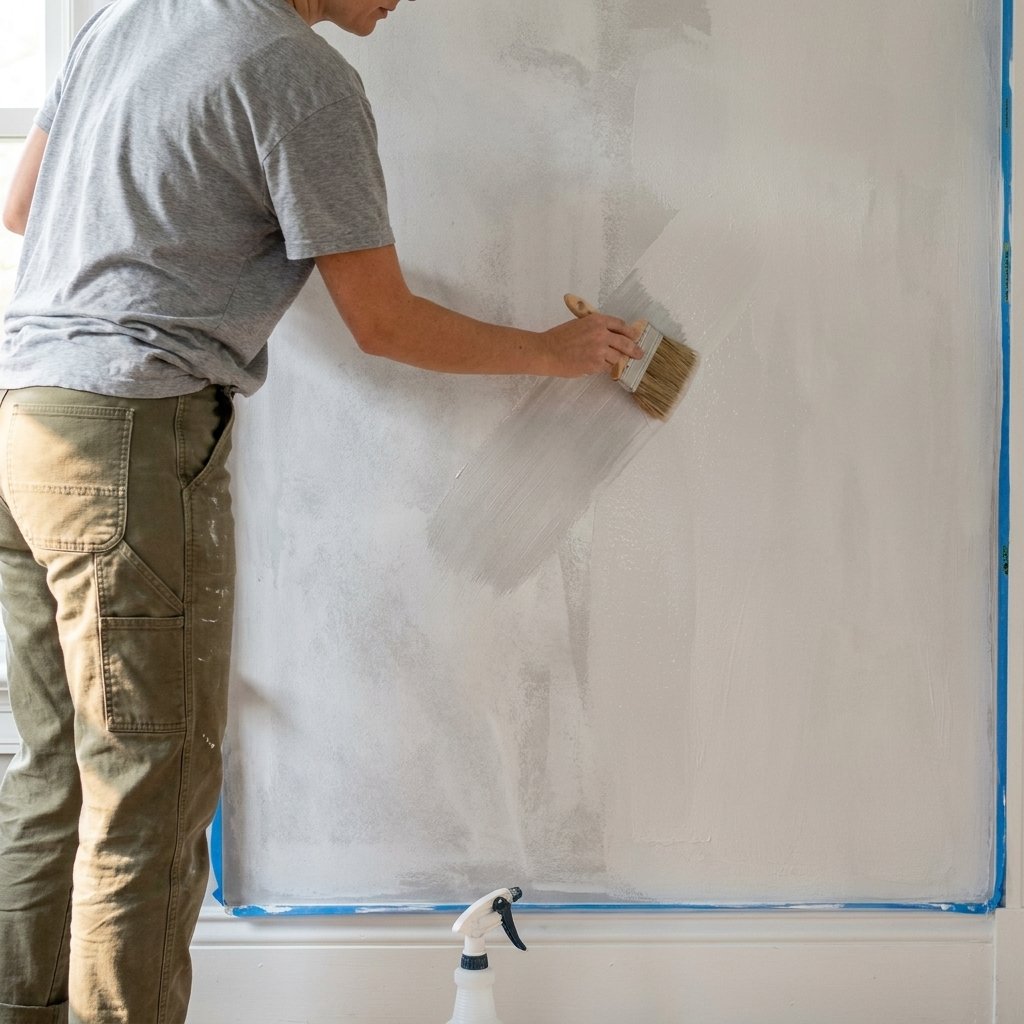
Continue working across the entire wall one 2’×3′ section at a time, always following this sequence for each section:
- Mist the next section
- Apply diagonal strokes (first direction)
- Apply cross-hatch strokes (opposite direction)
- Dry-brush feather pass
- Blend the edge into the previous section
That last point — blending the edge — is what most beginners miss. Before moving to a completely new section, use a slightly dry brush to feather the boundary where your new wet section meets the edge of the previously dried section. This prevents a visible “seam” line.
Work your way systematically across the wall: left to right (or right to left — pick one and stay consistent), top to bottom within each column of sections.
STEP 6 — Apply the Second Coat for Depth
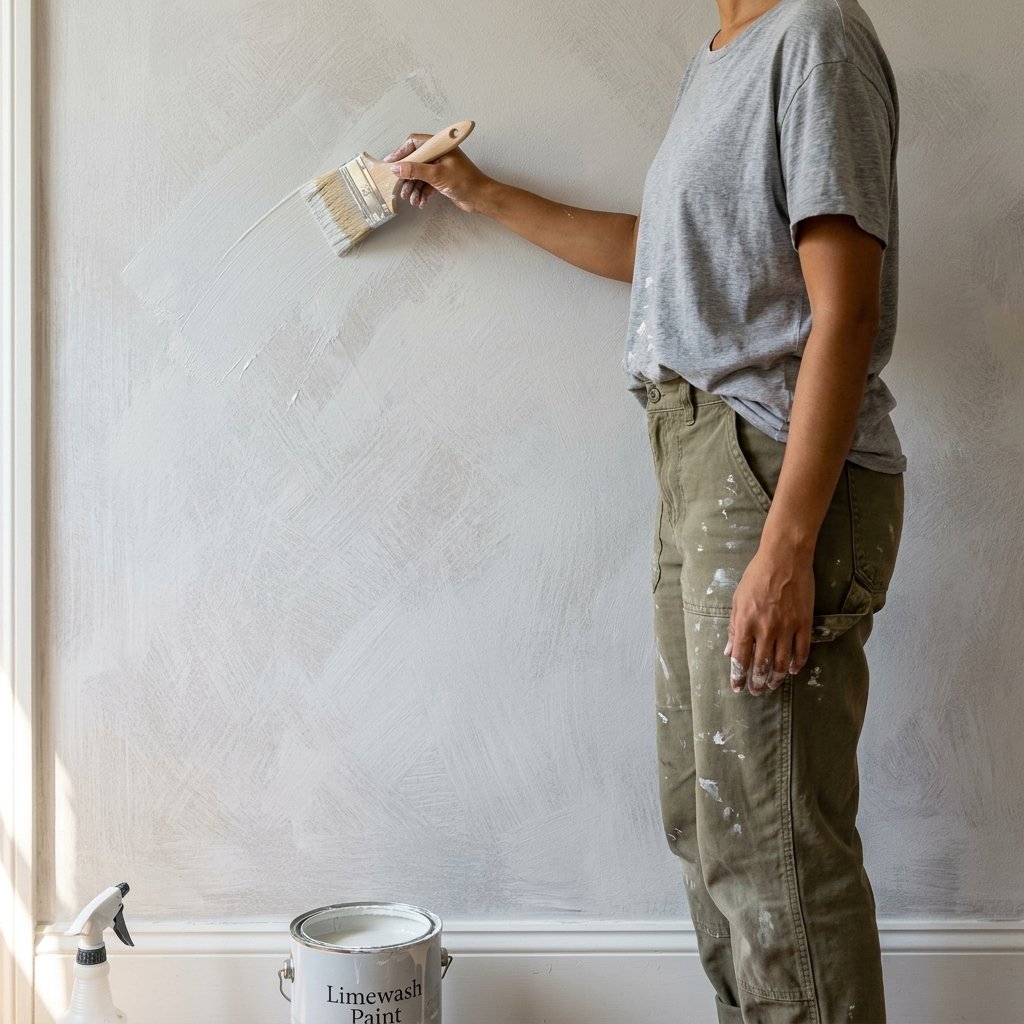
Once the entire wall has a complete first coat and that coat is fully dry — typically 45 minutes to 1.5 hours depending on humidity and temperature — it’s time for the second coat.
The second coat is where the magic really happens. The depth you saw emerging in the first coat becomes rich and dimensional with a second layer.
Second coat technique: Apply using the same cross-hatch process, but don’t follow the exact same diagonal directions as your first coat. Rotate your stroke direction slightly — if your first coat was at 45°, apply the second at 30° or 60°. This creates more complex layering rather than simply reinforcing the first coat’s tracks.
Don’t aim for full, even coverage. The second coat should still allow the first coat — and in some areas, the original base wall — to show through. You’re building depth, not covering. If any area looks too heavy or opaque, immediately soften it with a damp rag, blotting gently to lift some paint while still wet.
Optional third coat: For a richer, more saturated result, a third coat (applied after the second is fully dry) adds even more depth. Many designers actually prefer three thin coats to two heavier ones. Each coat dries faster than the previous because the surface porosity decreases as paint builds.
STEP 7 — Cut In Edges and Corners
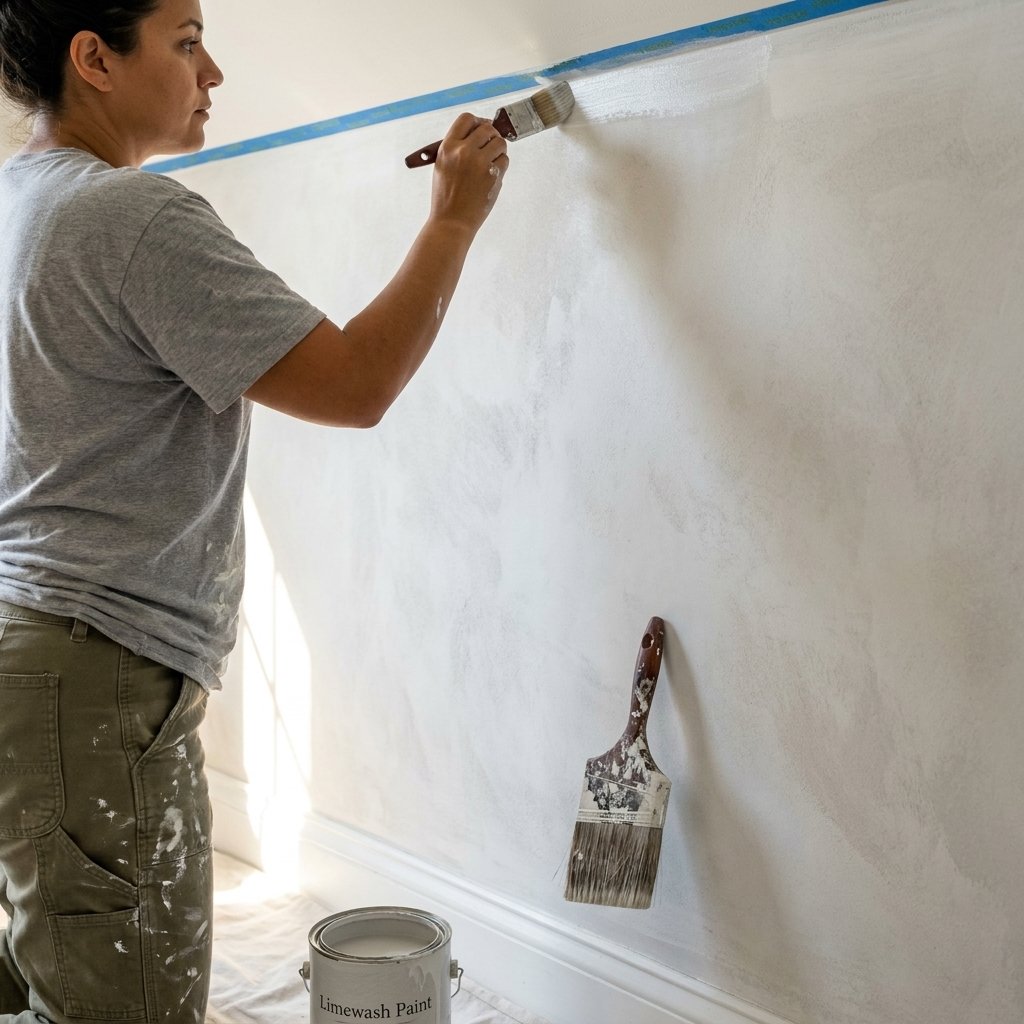
The large 5–6″ brush is perfect for the main field of the wall but can’t get cleanly into corners, up against ceiling edges, or neatly along the baseboard tape. For these areas, switch to your smaller 3″ chip brush.
Apply limewash to the edges using the same cross-hatch technique — just on a smaller scale. Try to maintain similar stroke character to the main wall so edges don’t look different from the center.
Corners (where two walls meet): Work into the corner from both sides, feathering strokes into the corner rather than against it. The natural light behavior in corners will shade the limewash there slightly darker anyway, which adds beautiful natural depth.
STEP 8 — Remove Tape and Reveal
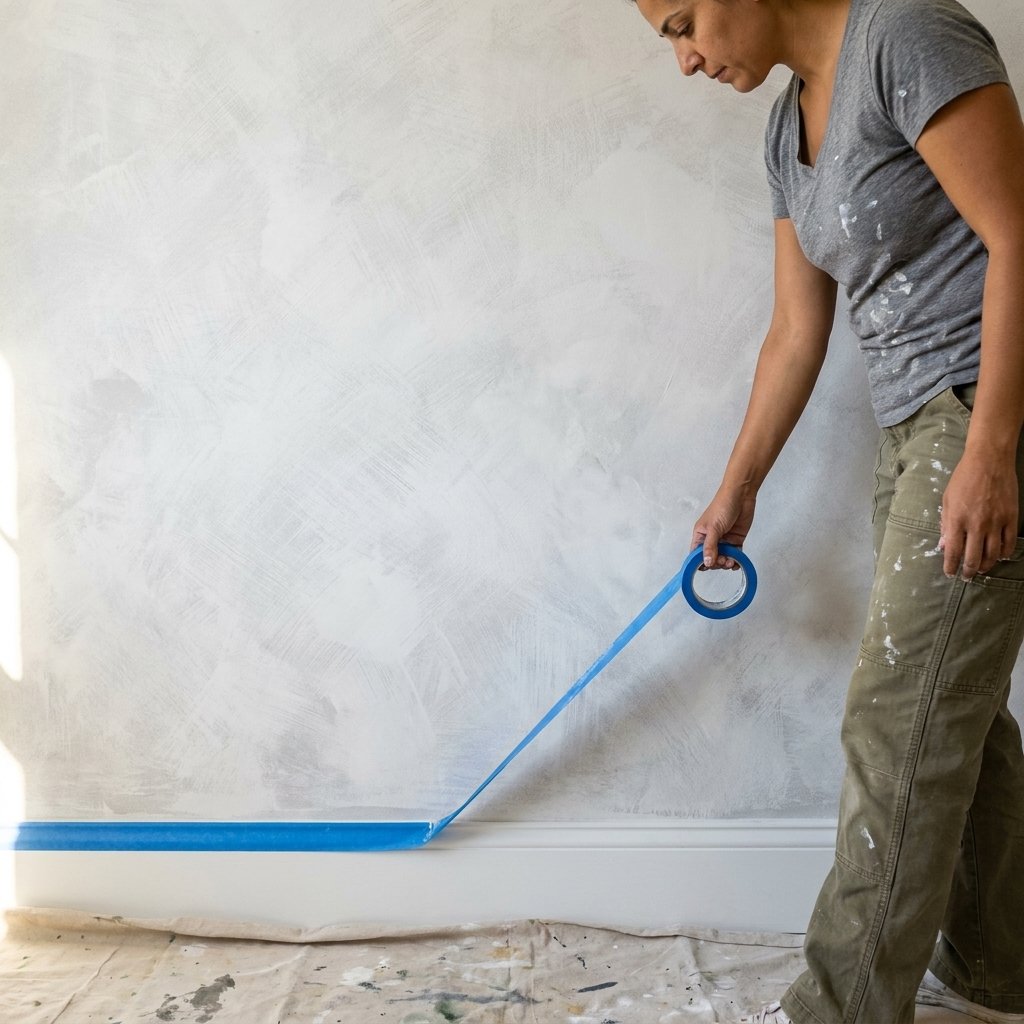
Wait until your final coat is completely dry before removing the tape — at least 1–2 hours after your last brushstroke. Removing tape from wet or even slightly tacky limewash can pull the paint off the wall surface, especially at edges.
Peel the tape back slowly at a 45-degree angle (not straight out perpendicular to the wall). Go slowly. If any area of the tape seems to be pulling up dried limewash with it, stop — press the tape flat again briefly, and use a sharp craft knife to score lightly along the tape edge before continuing.
Once the tape is fully removed, step back and look at the whole wall. The crisp clean edges combined with the organic texture of the limewash interior is what makes a finished limewash wall look so professionally done.
Troubleshooting: What to Do When Things Go Wrong
Problem: The limewash looks too heavy and opaque in areas — not translucent enough. Solution: While still wet, dampen a clean white rag with water and blot the heavy area gently — don’t rub, just press and lift. This pulls some paint off the surface, revealing the base and adding the translucency back. Work quickly — limewash dries within minutes.
Problem: There are visible seam lines between sections. Solution: Lightly sand the seam area with 400-grit fine sandpaper once the paint is fully dry. Then apply a thin diluted wash coat (limewash + 20% water) over the seam area, feathering into both adjacent sections. The organic texture will re-emerge as it dries.
Problem: The wall looks patchy — some areas much lighter than others. Solution: This usually means the second coat was applied unevenly or skipped in some areas. Apply a thin third coat specifically to the lighter areas, feathering the edges into the surrounding limewash.
Problem: The limewash is dripping down the wall. Solution: You’ve loaded the brush too heavily. Wipe off the excess drips immediately with a damp cloth, then dab the area lightly to reintegrate the texture. Going forward, load your brush more lightly and tap off excess against the bucket rim before applying to the wall.
Problem: The finished wall looks too flat and even — not enough organic variation. Solution: You may have applied each coat too uniformly. Add a third coat using deliberately varied pressure — very light in some areas, slightly heavier in others — to create the tonal variation that’s the signature of authentic limewash.
How to Style a Limewash Bedroom Wall?
The limewash texture is doing a lot of visual work — it has depth, warmth, and character. The rest of the room should complement it without competing.
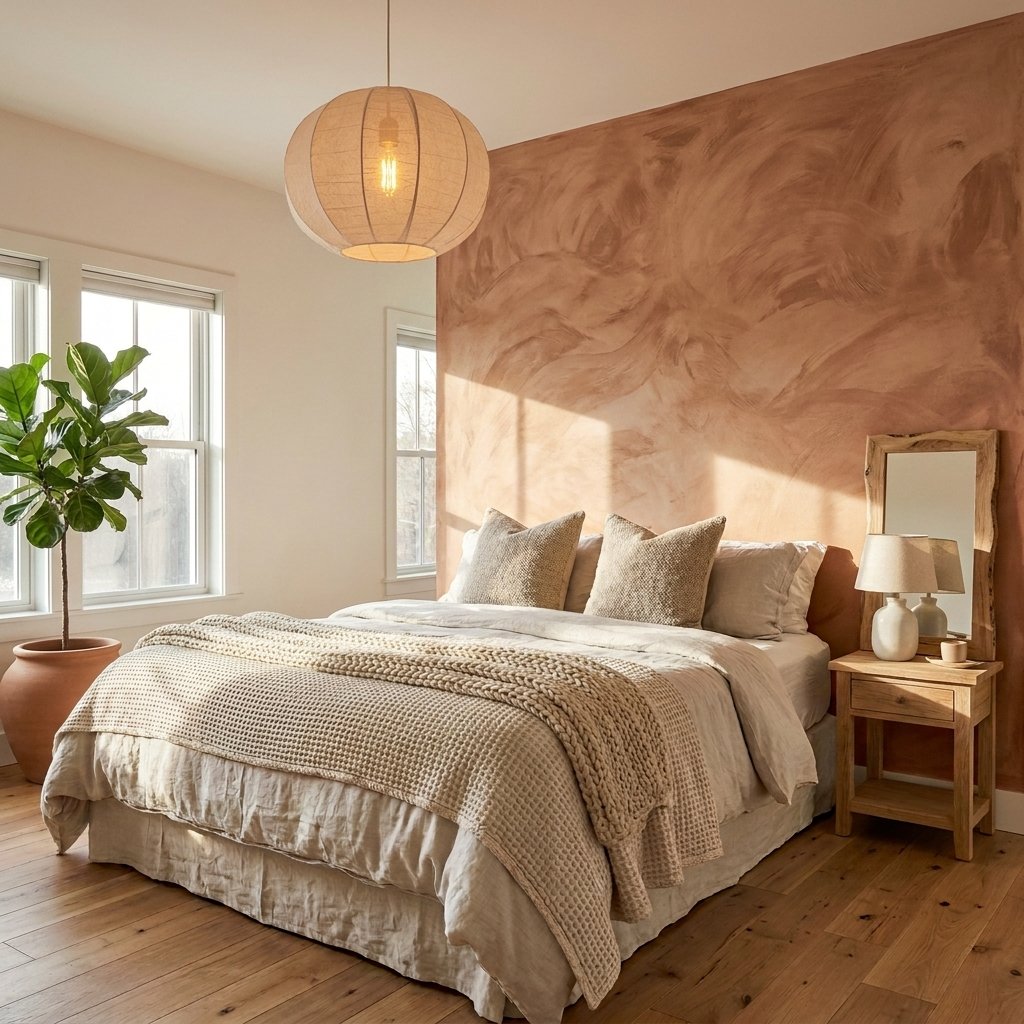
Bedding: Natural, tactile materials work beautifully against limewash — linen, waffle cotton, chunky knit. Colors: oat, ivory, cream, warm white, soft terracotta. Avoid stark bright white (it clashes with the warm organic texture) and heavy patterns (they fight the wall’s texture for attention).
Lighting: Limewash responds dramatically to light direction. Warm Edison bulbs or amber-toned LED lights enhance the chalky warmth of the wall. A single rattan or paper pendant light centered above the bed, casting downward warm light that rakes across the wall, is the single most impactful lighting choice for a limewash bedroom.
Furniture: Natural wood tones — walnut, raw oak, weathered pine — harmonize with limewash’s organic, earthy character. Avoid high-gloss lacquered furniture; the contrast between slick finishes and the textured wall reads as discordant.
Art and mirrors: A single large-scale piece of art, or a raw-edge mirror in a simple frame, works well against a limewash wall. Avoid gallery walls with many small frames — the busy composition competes with the texture.
Plants: A tall single plant (olive tree, fiddle leaf fig, or olive-leaf eucalyptus) in a terracotta or unglazed ceramic pot in the corner is the most Pinterest-worthy finishing touch. The organic forms of the plant rhyme with the organic texture of the wall.
Limewash vs. Other Textured Wall Techniques: How Does It Compare?
| Technique | DIY Cost | Difficulty | Look | Reversibility |
|---|---|---|---|---|
| Limewash | $25–$40 | ⭐ Easy | Organic, chalky, aged | ✅ Fully reversible |
| Venetian Plaster | $80–$200 | ⭐⭐⭐⭐ Hard | Polished, marble-like | ⚠️ Difficult to remove |
| Roman Clay | $60–$150 | ⭐⭐⭐ Medium | Smooth, earthy, matte | ⚠️ Moderate |
| Textured Paint | $20–$35 | ⭐⭐ Easy | Flat, sandy | ✅ Paintable-over |
| Wallpaper | $50–$300 | ⭐⭐ Medium | Pattern-dependent | ⚠️ Removal required |
| Color Wash | $20–$35 | ⭐ Easy | Translucent, light | ✅ Fully reversible |
Limewash wins the value equation almost every time for bedroom DIY: the lowest skill barrier, one of the lowest costs, and one of the most beautiful outcomes.
Ready to Transform Your Bedroom Wall?
Take a moment right now and picture your bedroom wall with that chalky, organic, warmly lit limewash texture behind your bed. The way the morning light would rake across the surface. The way it would make your linen bedding look even more beautiful.
That’s not a fantasy renovation. That’s a $30 Sunday afternoon project.
The limewash technique is genuinely one of the most forgiving, accessible, high-impact DIY wall finishes available — beginners get beautiful results on their first try because the organic, slightly imperfect nature of the finish means there’s no “wrong” way to apply it. The process itself is almost meditative — slow, broad brush strokes, stepping back to look, adjusting, building depth one layer at a time.
Save this post to your “Bedroom DIY” board. Drop a photo in the comments when yours is done — nothing brings more joy to this space than seeing your transformations.
Related Posts You’ll Love:
- How to Style a Boho Bedroom with Amazon Finds Under $50
- Gold Leaf Accent Wall: Luxury Bedroom Makeover on a Budget
Frequently Asked Questions
- What is limewash paint and how is it different from regular paint?
Limewash is a centuries-old wall finish made from slaked lime or modern lime-based compounds formulated to mimic that finish. Unlike regular paint, which sits as an opaque film on top of your wall surface, limewash is semi-transparent and applied in thin layers that partially absorb into the surface. This creates the characteristic translucency and depth — you can see through each layer slightly to the one beneath, and the interaction between layers is what produces the organic, dimensional look. Modern water-based limewash formulas replicate this effect on standard drywall without requiring masonry surfaces.
- Do I need to strip or sand my existing wall paint before applying limewash?
In most cases, no. If your wall has a flat or matte paint finish in good condition — no peeling, bubbling, or significant damage — you can apply limewash directly over it after cleaning. If the existing paint is eggshell or has a slight sheen, lightly scuff with 220-grit sandpaper and wipe away dust. Satin or gloss finishes need more aggressive sanding or a light coat of flat primer first, since limewash needs a porous surface to absorb and grip properly. High-gloss paint is the only finish where limewash adhesion becomes genuinely unreliable without proper prep.
- How much limewash paint do I need for a standard bedroom accent wall?
A single quart of limewash paint covers approximately 50–75 square feet with two coats. For a standard queen/king bedroom accent wall of roughly 8′ × 10′ (80 sq ft), one quart is typically sufficient for two coats with a small amount left over for touch-ups. If your wall is larger — a 12′ cathedral-height feature wall, for example — purchase two quarts. When in doubt, buying two quarts is far better than running out mid-wall; limewash batches can vary slightly in tone, and applying a different batch partway up a wall is difficult to disguise.
- Can I do a DIY limewash wall on a rental property?
Yes — this is actually one of limewash’s most underappreciated advantages. Because it’s water-based and applies over existing paint (rather than replacing it or altering the wall structure), it can be painted over completely when it’s time to move. Two coats of standard flat white paint — the kind landlords use — will completely cover limewash. The wall will look exactly as it did before. This makes it one of the very few genuinely impactful, reversible renter-friendly upgrades available for bedrooms. That said, always check your lease’s policies on painting — some landlords restrict any painting, regardless of reversibility.
- The limewash dried much lighter than it looked when I applied it. Is this normal?
Completely normal — and one of the most common surprises for first-timers. Limewash contains a high percentage of water and dries to approximately 40–60% of the wet color depth. A coat that looks medium grey when wet will dry to a soft pale chalky grey. This is inherent to how limewash works: as the water evaporates, the finish becomes more matte and chalky, which lightens the perceived color. Always judge your limewash result from the dried surface, not the wet application. If the dried result is too light for your preference, a second or third coat will deepen the tone.
- How many coats of limewash does a bedroom wall need?
Most bedroom accent walls look their best with two to three coats. One coat is rarely sufficient — it tends to look patchy and doesn’t build enough depth. Two coats gives you a solid, beautiful result. Three coats is the choice for the richest, most layered, most professional-looking outcome, and is what most interior designers apply when doing limewash professionally. Each additional coat also becomes easier to apply because the previous coat provides a better grip surface for the next. Beyond three coats, you’re adding very little visual benefit for the effort.
- Can I limewash a wall that already has wallpaper on it?
No — never apply limewash over wallpaper. Limewash contains water, which will cause wallpaper to bubble, peel, and potentially pull away from the wall in sections. The wallpaper must be fully removed and the wall surface properly repaired and primed before limewash can be applied. If removing the wallpaper leaves significant wall damage (torn drywall paper, holes, uneven surface), those areas need to be skim-coated and sanded smooth before limewashing.
- What’s the best limewash paint color for a bedroom?
The most popular and universally flattering colors are warm white, natural stone (light greige-white), and soft warm grey. These tones have a naturally calming quality that suits bedrooms well and they work with virtually any bedding color palette. Terracotta limewash has exploded in popularity for bohemian and Mediterranean-influenced bedrooms — it’s warmer, more dramatic, and pairs beautifully with natural materials. Sage green limewash is trending strongly for earthy, organic bedroom aesthetics. The key principle for any color: choose a limewash color that is 2–3 shades lighter than you want the finished wall to look, since all colors dry significantly lighter than they appear wet.
- How long does a limewash bedroom wall last?
In a normal bedroom environment with no direct water exposure, a properly applied sealed limewash wall can last 5–10 years or longer before needing any touch-up or re-application. Limewash actually tends to look better over time in many cases — it continues to develop subtle tonal depth as it ages. The main enemy of limewash longevity is moisture (bathroom limewash walls need sealant, bedroom walls usually don’t) and physical abrasion (areas near door handles or where furniture presses against the wall). Spot touch-ups are easy to do without re-doing the whole wall.
- Do I need to seal my limewash bedroom wall?
For bedroom walls: typically no. Unlike bathroom or kitchen limewash applications, bedroom walls aren’t exposed to moisture, steam, or cleaning chemicals. Limewash in a dry bedroom environment is stable and durable unsealed. However, if you have young children or pets who might touch the wall frequently, or if the wall is in a high-traffic area, applying a thin coat of matte water-based topcoat sealer (not gloss — this destroys the matte finish) will protect the surface from scuffs and fingerprints without significantly altering the look. Always test any sealer on a hidden corner first — some sealers slightly darken or change the sheen of limewash.
- My limewash brush is leaving streak marks that look too obvious. How do I fix it?
Obvious streak marks usually result from one of three things: the brush was overloaded with paint, the application pressure was too consistent throughout the stroke (no variation), or the wall dried too quickly before you could do the softening dry-brush pass. To fix existing streaks on a dried coat: lightly dampen the streaked area with your spray bottle, then apply a very thin diluted limewash coat (add 15–20% water to your mix) in a multi-directional swirling motion over the streak zone, feathering outward. As it dries, the streak will integrate into the surrounding texture. Going forward, tap off excess paint on your bucket rim before each stroke and always vary your pressure within each stroke.
- Can I use limewash paint on brick or stone walls?
Yes — and the result on brick or natural stone is extraordinary. Natural masonry surfaces are the original substrate for limewash, and the way it settles into the mortar joints and absorbs differently across the face of the brick creates spectacular variation. However, brick application is a different preparation process: brick must be free of efflorescence (white mineral deposits), loose mortar, and previous sealers. And because masonry absorbs paint very differently from drywall, you’ll typically need more coats (3–4) and may want to dilute your limewash more than for a drywall application. The technique remains the same — the surface just demands more prep care.
- Is limewash paint safe to use indoors? Does it smell?
Modern water-based limewash paint (Romabio, Portola, and similar) is non-toxic, low-VOC, and has a very mild, chalky-mineral odor during application that dissipates within a few hours of drying. It’s safe to use in bedrooms and lived-in spaces with normal ventilation — keep a window open or run a fan during application and the smell will be undetectable by the time you’re finished. Traditional lime-based limewash has a higher alkalinity (higher pH) that can be mildly irritating to skin with extended contact — which is why gloves are recommended during mixing. Modern water-based formulas are significantly milder, but gloves remain a good precaution during the mixing step, especially for anyone with sensitive skin.
- Can I apply limewash with a roller instead of a brush?
Technically yes, but the result will be very different — and generally not what people mean when they say “limewash look.” A roller applies paint more evenly and uniformly, which eliminates most of the directional brush-stroke character and organic variation that defines the limewash aesthetic. You’ll end up with something closer to a standard flat paint application with slight texture from the roller nap. Some people deliberately combine techniques: roll on the first coat for even base coverage, then add the cross-hatch brush work on top for the second coat. This can work well and speeds up the first coat considerably on large walls.
- I want to limewash just one accent wall. Will it look odd with the other walls left plain?
Not at all — in fact, this is the most popular approach in bedrooms and the one most interior designers recommend. Limewash on all four walls of a bedroom can feel overwhelming and heavy, especially in smaller rooms. Applying it to just the wall behind the bed (the natural focal point) while keeping the other three walls in a soft plain color creates beautiful contrast and lets the limewash texture work as an intentional design statement. The only guideline: choose a plain wall color for the remaining three walls that is in the same color family as the limewash — similar warmth and undertone — so the room reads as cohesive rather than mismatched.
- How do I clean a limewash wall if it gets dirty or marked?
For light dust and surface dirt: a soft dry microfiber cloth is all you need. For a faint mark or smudge: a barely-damp cloth with very gentle pressure, blotting rather than rubbing. Do not use cleaning sprays, multi-surface cleaners, or any product containing alcohol, bleach, or abrasive agents on unsealed limewash — these can strip or bleach the finish. For stubborn marks that a damp cloth can’t lift: a very light touch with a melamine foam eraser (Magic Eraser) on a dry surface can work but test a small hidden area first. For painted-over damage, spot touch-ups with a dry-loaded brush using leftover limewash are very easy to do and blend naturally into the existing texture.