As an Amazon Associate we earn from qualifying purchases. Here’s how it works.
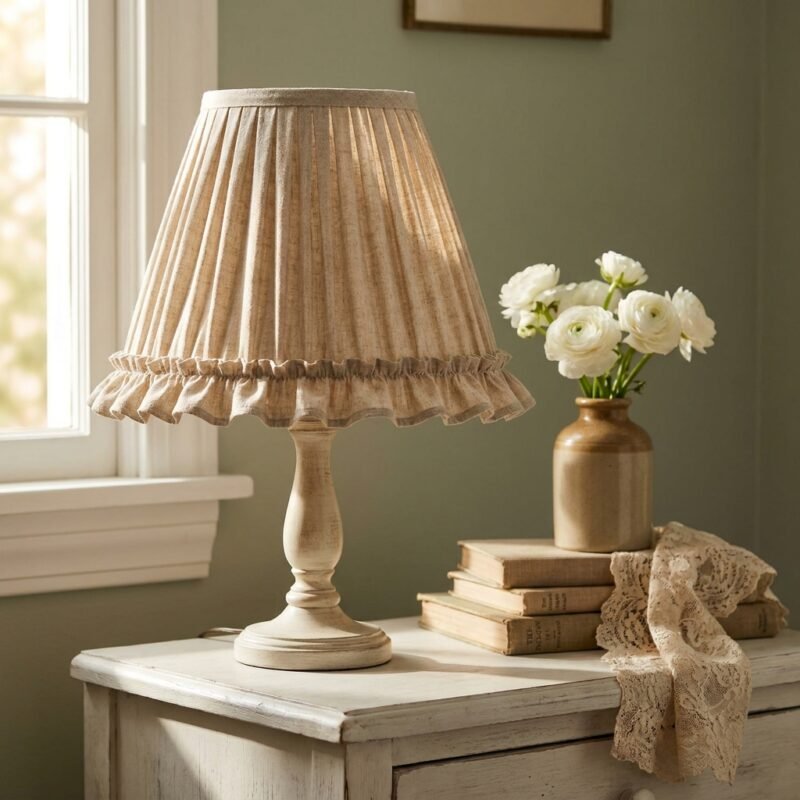
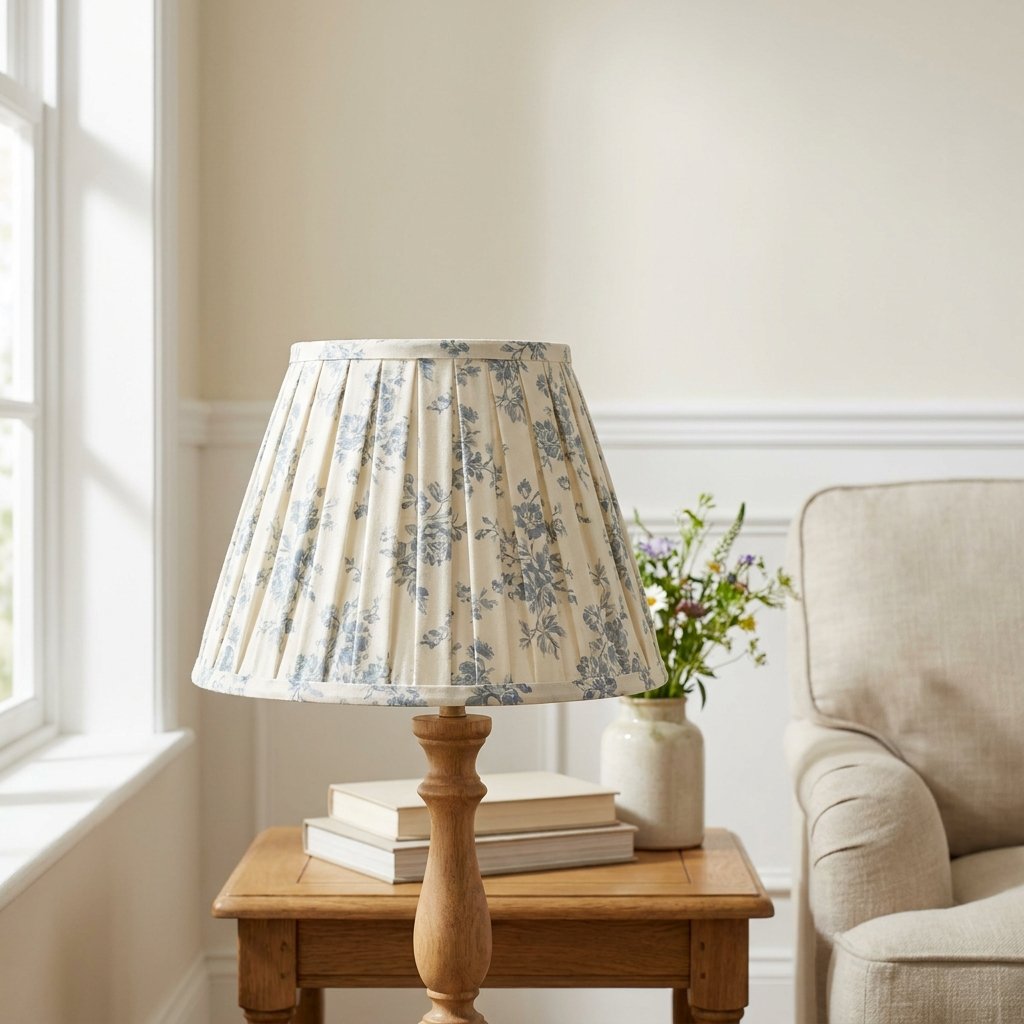
A lampshade might seem like a small decorating detail, but it has a surprisingly big impact on the overall feel of a room. If you’ve ever admired the soft, tailored look of a DIY pleated lampshade, you’ll be happy to know you can recreate the style yourself—without spending designer prices or pulling out a sewing machine.
This beginner-friendly home decor project transforms an ordinary lampshade into a custom accent piece using fabric, careful folding, and a simple no-sew technique. Whether your decorating style leans toward cottagecore, grandmillennial, vintage, traditional, or modern farmhouse, a pleated fabric lampshade instantly adds warmth, texture, and personality.
One of the biggest advantages of this project is its flexibility. You can refresh an old lampshade that’s been sitting in storage, give a thrift-store find a second life, or personalize a brand-new shade with fabric that perfectly matches your home’s color palette.
Even better, the supplies are inexpensive, making this an affordable weekend DIY that delivers a high-end look for a fraction of retail prices.
By the end of this tutorial, you’ll know exactly how to measure, prepare, pleat, and finish a beautiful fabric lampshade that looks professionally made.
Why You’ll Love This DIY Pleated Lampshade?
✔ Beginner-friendly
✔ No sewing required
✔ Budget-friendly home makeover
✔ Uses simple household tools
✔ Great way to upcycle an old lampshade
✔ Fully customizable with your favorite fabric
✔ Suitable for bedrooms, nurseries, offices, living rooms, and reading nooks
✔ Creates a timeless designer-inspired look
Project Overview
| Difficulty | Easy |
|---|---|
| Time Required | Approximately 2–3 hours |
| Estimated Cost | $15–35 (depending on materials) |
| Skill Level | Beginner |
| Sewing Required | No |
| Drying Time | 15–20 minutes |
Materials You’ll Need
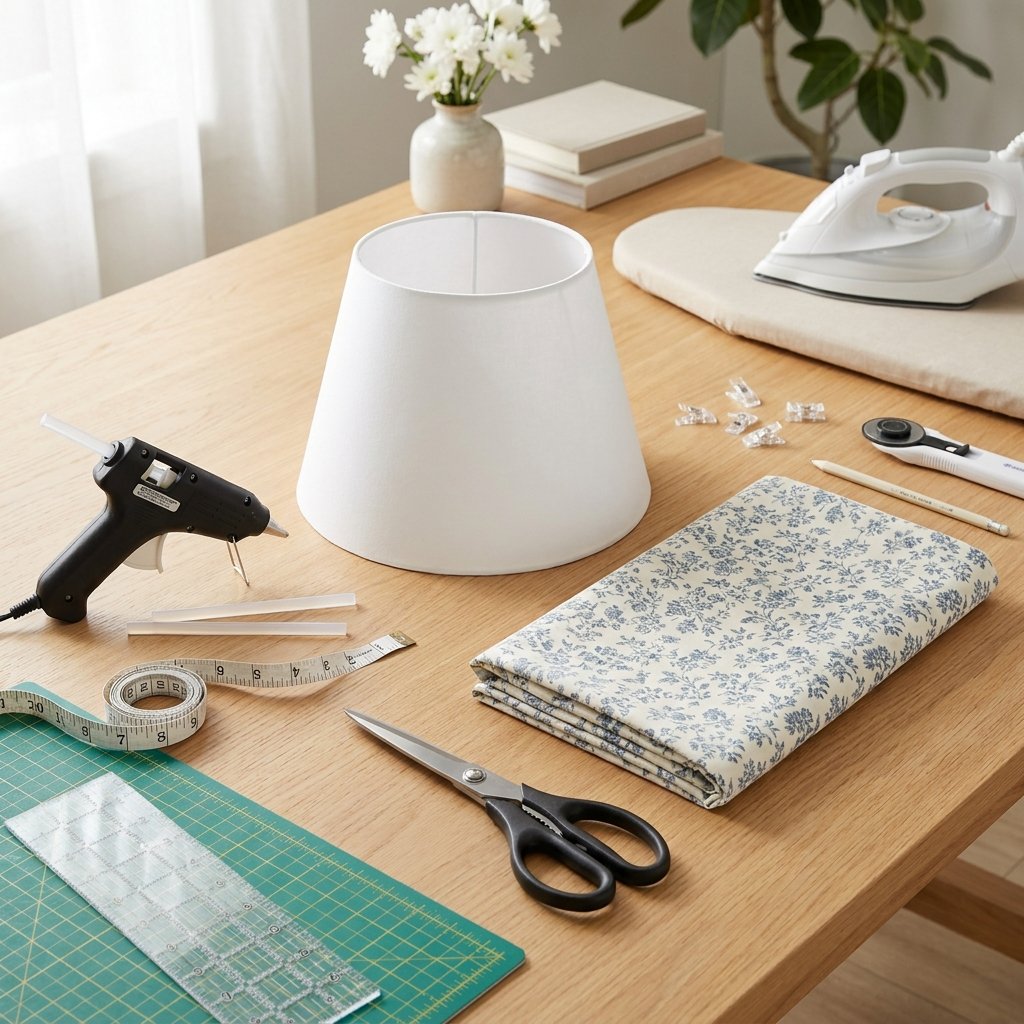
Before you begin, gather all of your supplies so the project flows smoothly from start to finish.
Plain Lampshade
Choose a clean lampshade with a sturdy frame. Drum, empire, and gently tapered shades all work well.

Cotton or Linen Fabric
Lightweight woven fabrics create crisp, neat pleats and are much easier to work with than stretchy materials.
Great choices include:
- Cotton
- Linen
- Cotton-linen blends
- Block print fabric
- Floral prints
- Gingham
- Toile
- Soft stripes


Avoid:
- Velvet
- Jersey knit
- Satin
- Thick upholstery fabric
- Stretch fabrics
For this DIY, linen fabric was used.

Hot Glue Gun
A precision-tip glue gun gives you more control when attaching each pleat.

Glue Sticks
Use clear, high-temperature glue sticks for a secure hold.

Fabric Scissors
Sharp fabric scissors make clean cuts that help every pleat look neat.

Measuring Tape
Accurate measurements make the finished lampshade look much more polished.

Steam Iron
Pressing every strip before attaching it creates crisp pleats that resemble professionally tailored fabric.

Ironing Board
A smooth ironing surface speeds up preparation and creates cleaner folds.

Fabric Clips (Optional)
Helpful for temporarily holding pleats while adjusting spacing.

Fabric Marking Pen or Chalk
Useful for marking cutting lines that disappear later.

Rotary Cutter & Cutting Mat (Optional)
If you’re making multiple lampshades, these tools make cutting much faster and more accurate.

Choosing the Best Fabric
The fabric you select will completely change the personality of your finished lampshade.
For Cottagecore
- Tiny florals
- Soft sage greens
- Dusty blue prints
- Cream backgrounds


For Grandmillennial Style
- Block prints
- Chintz florals
- Toile patterns
- Botanical motifs
For Coastal Homes
- Blue stripes
- Sand-colored linen
- Soft white cotton
- Muted botanical prints
For Modern Interiors
- Solid linen
- Neutral beige
- Charcoal gray
- Black and white prints
Choosing a lightweight woven fabric allows the pleats to sit smoothly without creating unnecessary bulk around the lampshade.
Before You Begin
Taking a few extra minutes to prepare your workspace can make the entire process easier.
Before opening the glue gun:
- Clean dust from the lampshade.
- Remove loose threads or damaged fabric.
- Test your chosen fabric by wrapping it around the shade.
- Decide which direction you want the fabric pattern to face.
- Plug in the iron before cutting so you’re ready to press each strip immediately.
If your lampshade has noticeable stains or peeling fabric, consider removing the old outer covering first. Starting with a smooth surface helps the new pleats sit evenly and gives your finished project a cleaner, more professional appearance.
Helpful Tips Before Starting
- Iron fabric before measuring.
- Work on a large, flat surface.
- Measure twice before cutting.
- Keep extra glue sticks nearby.
- Allow glue to cool briefly before pressing the fabric.
- Frequently step back and check that your pleats remain evenly spaced.
- Good lighting makes it much easier to spot uneven folds before the glue sets.
Step-by-Step: How to Make a DIY Pleated Lampshade
Now it’s time to transform your plain lampshade into a custom home decor piece. Work slowly and focus on creating consistent folds rather than rushing through the project. Small adjustments along the way make a big difference in the finished result.
Step 1: Measure Your Lampshade
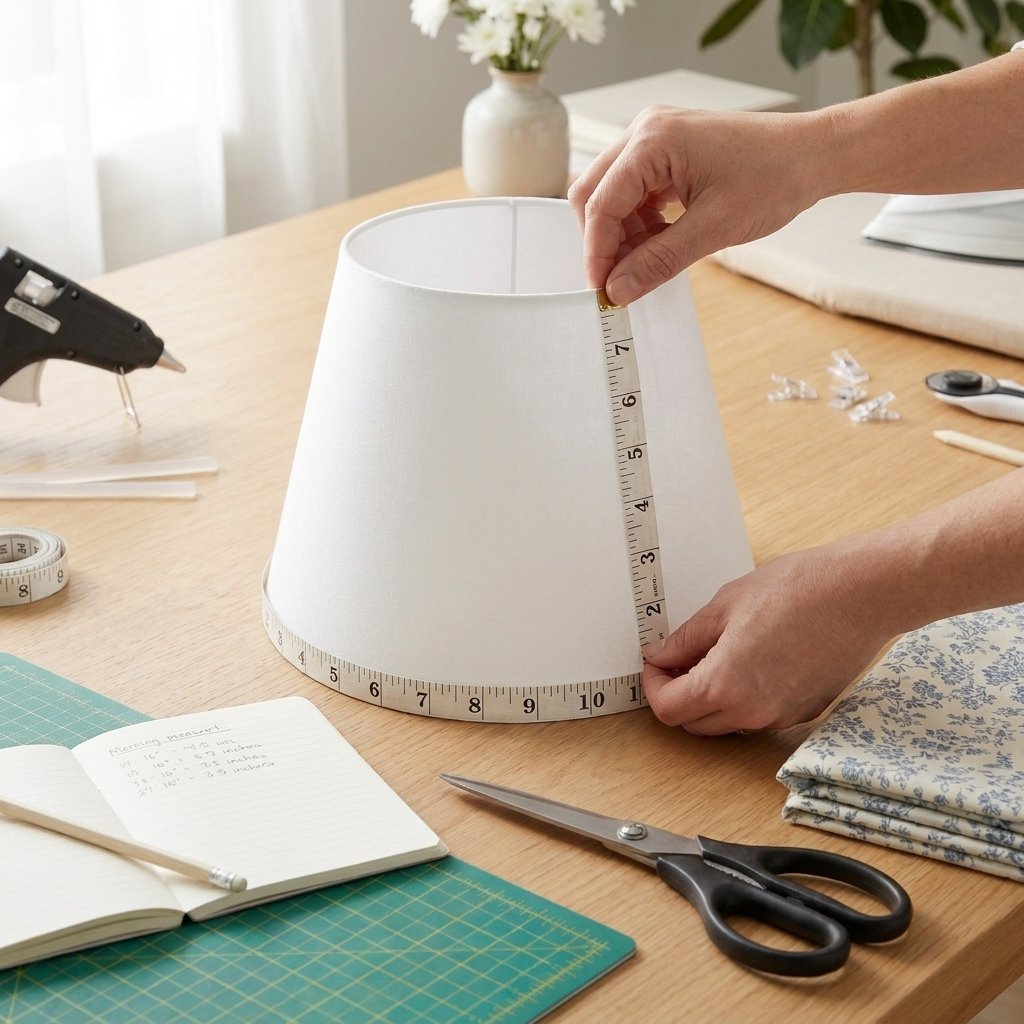
Every lampshade is slightly different, so begin by measuring yours rather than relying on standard dimensions.
Measure:
- The height of the shade (following its slant if tapered)
- The circumference around the top
- The circumference around the bottom
Write these measurements down before cutting any fabric.
For the fabric strips, add about 1 inch (2.5 cm) to the height measurement so you have enough material to wrap neatly over both the top and bottom edges later.
Pro Tip
If your lampshade is tapered, remember that the bottom edge is wider than the top. Your pleats will naturally fan out slightly as you work around the shade.
Step 2: Cut the Fabric into Uniform Strips
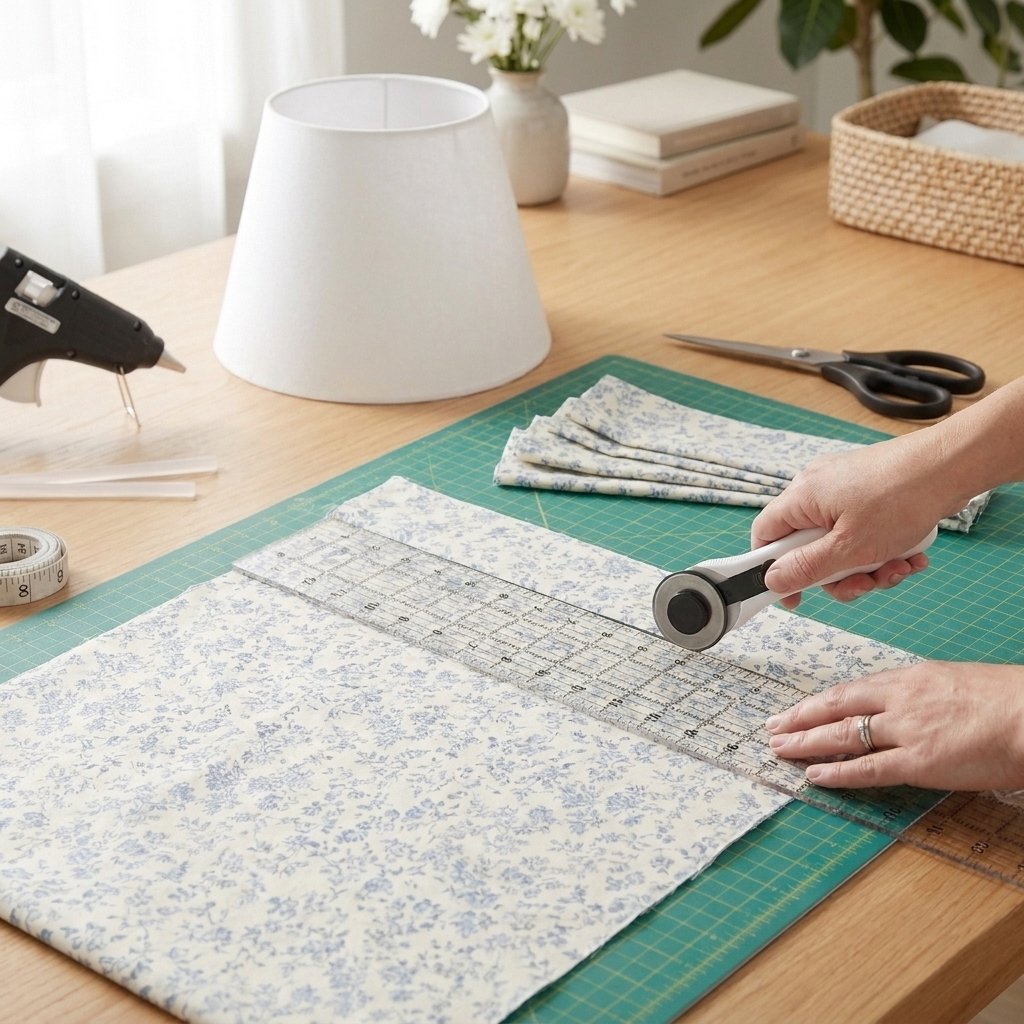
Lay your ironed fabric flat on a cutting mat.
Using your recorded height measurement, cut long strips that are slightly taller than the lampshade.
Next, divide those long pieces into narrower strips that will become your individual pleats.
Try to keep every strip the same width so the finished lampshade looks balanced and professional.
Taking your time during cutting will save frustration later when assembling the pleats.
Pro Tip: A rotary cutter produces cleaner edges than scissors and speeds up cutting if you’re making multiple lampshades.
Step 3: Press Every Strip
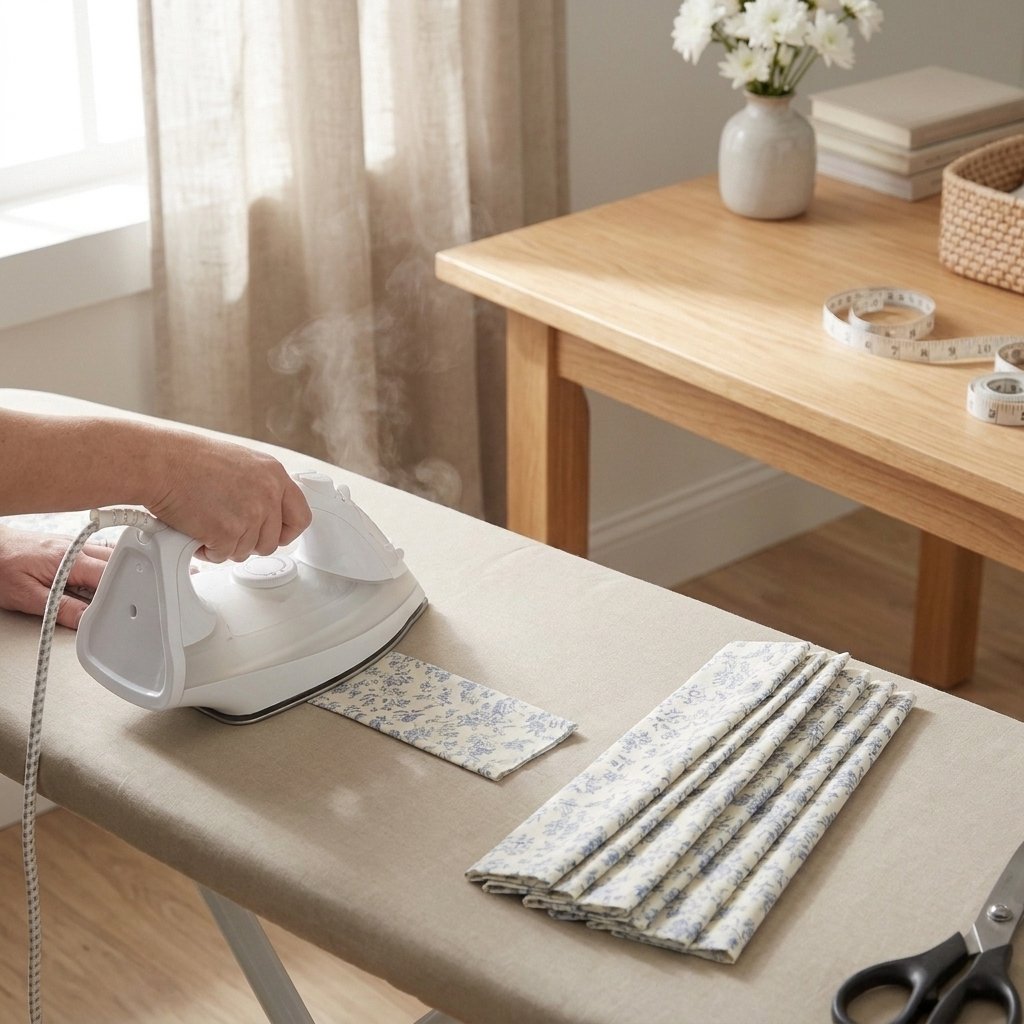
Neatly pressed fabric creates crisp, tailored pleats.
Fold each long edge toward the center just enough to hide the raw fabric edge.
Use a steam iron to press the folds firmly before moving on.
Although this step takes a little time, it’s one of the biggest secrets to achieving a polished, designer-inspired finish.
Continue until every strip has smooth folded edges.
Pro Tip
Allow each strip to cool for a few seconds before stacking them to help the folds stay sharp.
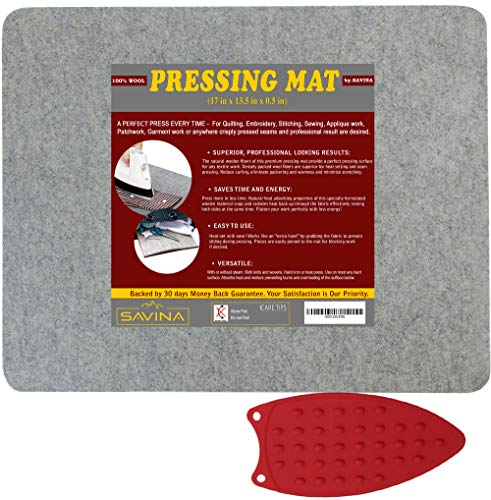
Step 4: Plan the Fabric Pattern
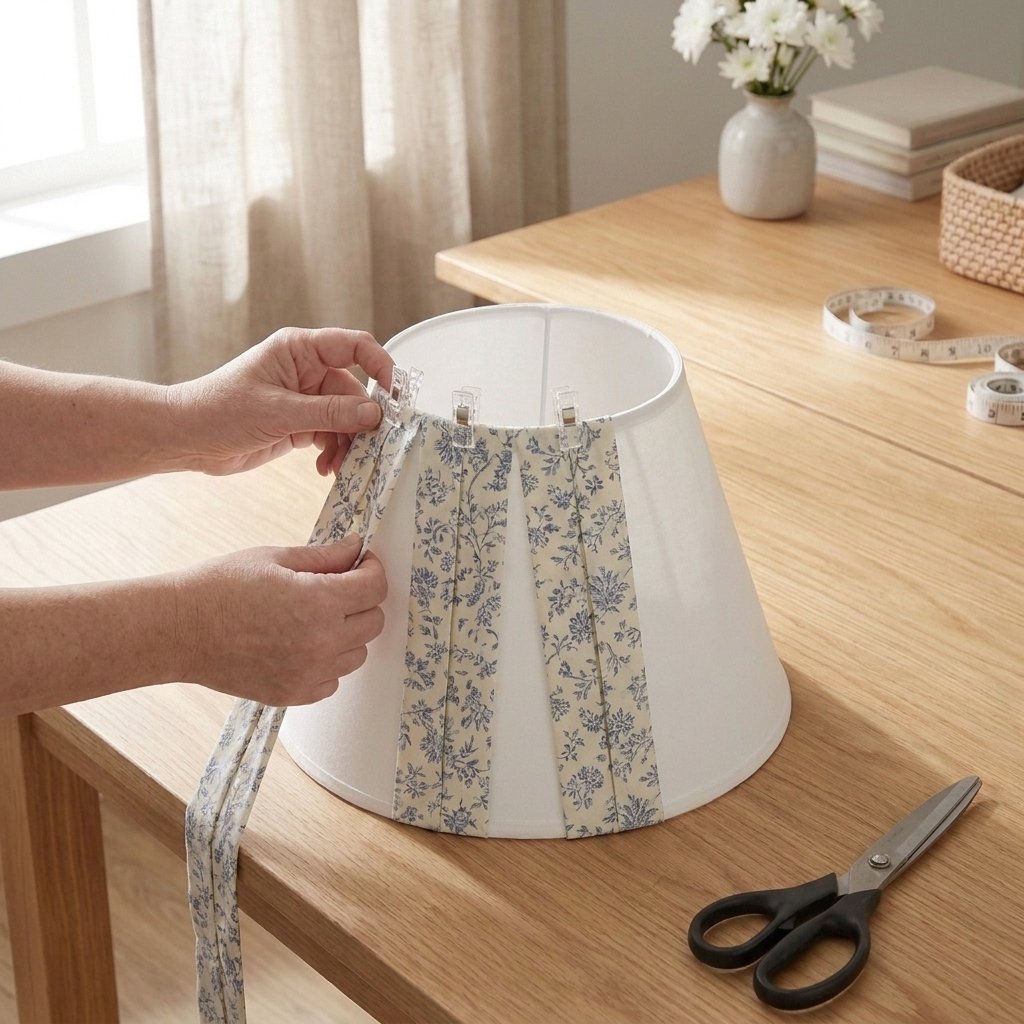
Before applying glue, loosely arrange several strips around the lampshade.
This gives you the opportunity to:
- Alternate floral patterns
- Balance colors
- Keep repeating designs evenly spaced
- Decide which fabric direction looks best
Making these adjustments now prevents noticeable pattern inconsistencies later.
If your fabric has large flowers or repeating motifs, rotate a few strips until the design feels balanced from every angle.
Step 5: Attach the First Pleat
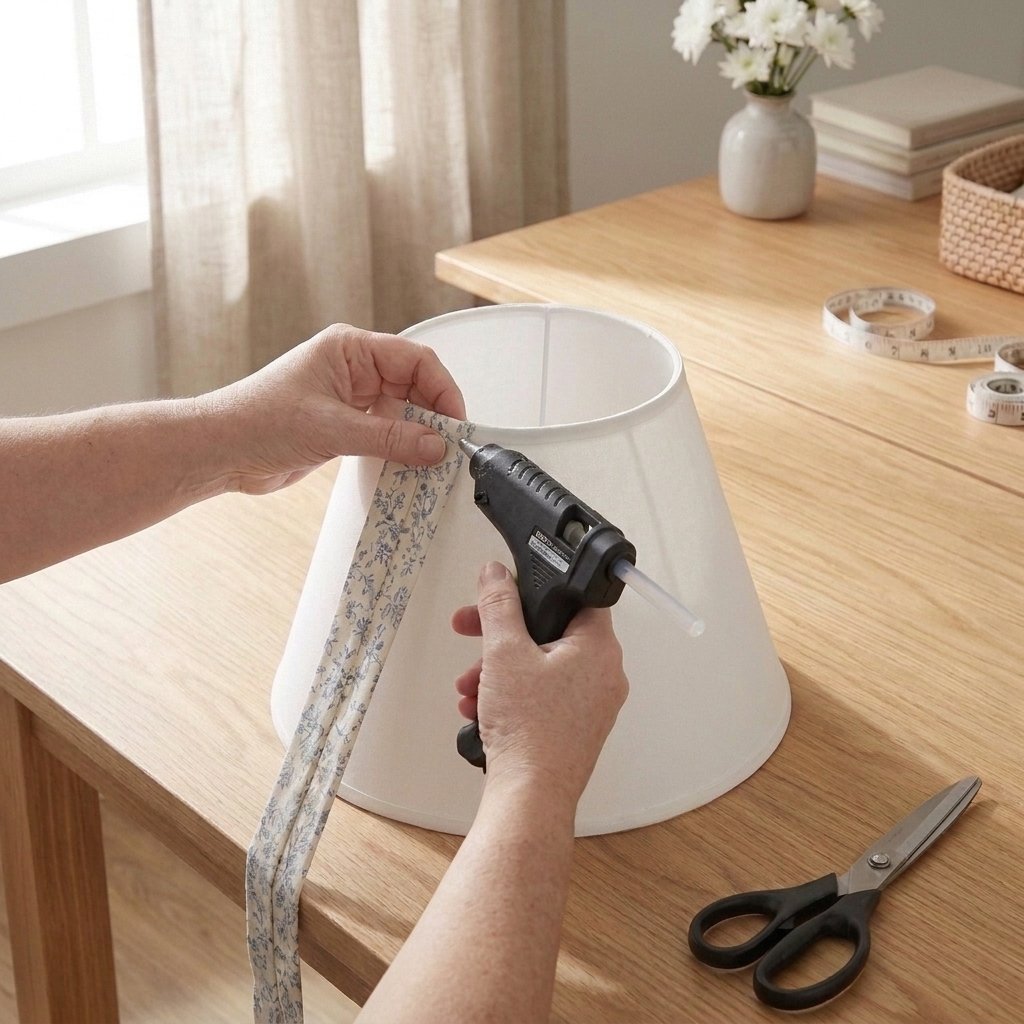
Choose an area that will sit toward the back of the finished lampshade.
Apply a thin line of hot glue vertically onto the lampshade.
Press the first fabric strip firmly into place.
Hold it for several seconds while the glue cools.
This first strip becomes the alignment guide for the rest of the project, so make sure it is perfectly straight.
Pro Tip: Use only a small amount of glue. Too much adhesive can seep through lightweight fabrics.

Step 6: Continue Adding Pleats
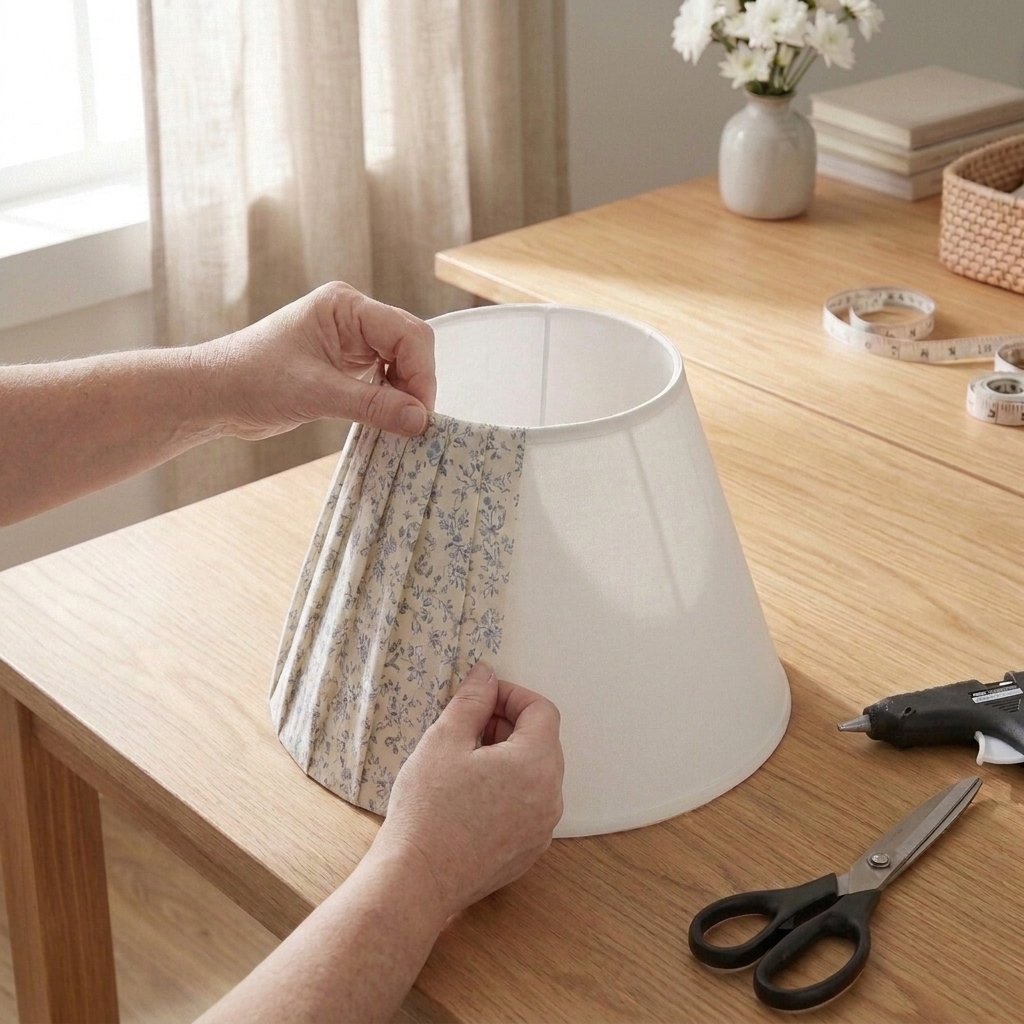
Work your way around the lampshade one strip at a time. Each new strip should overlap the previous one slightly, creating the signature pleated appearance. Check your spacing frequently. Because the lampshade widens toward the bottom, the overlap may gradually become smaller as you move downward. Stand back every few strips to make sure everything remains even. Small corrections are much easier before the glue fully cools.
Pro Tip: Instead of trying to finish one side first, rotate the lampshade as you work to keep your pleats consistent all the way around.
Step 7: Wrap the Top and Bottom Edges
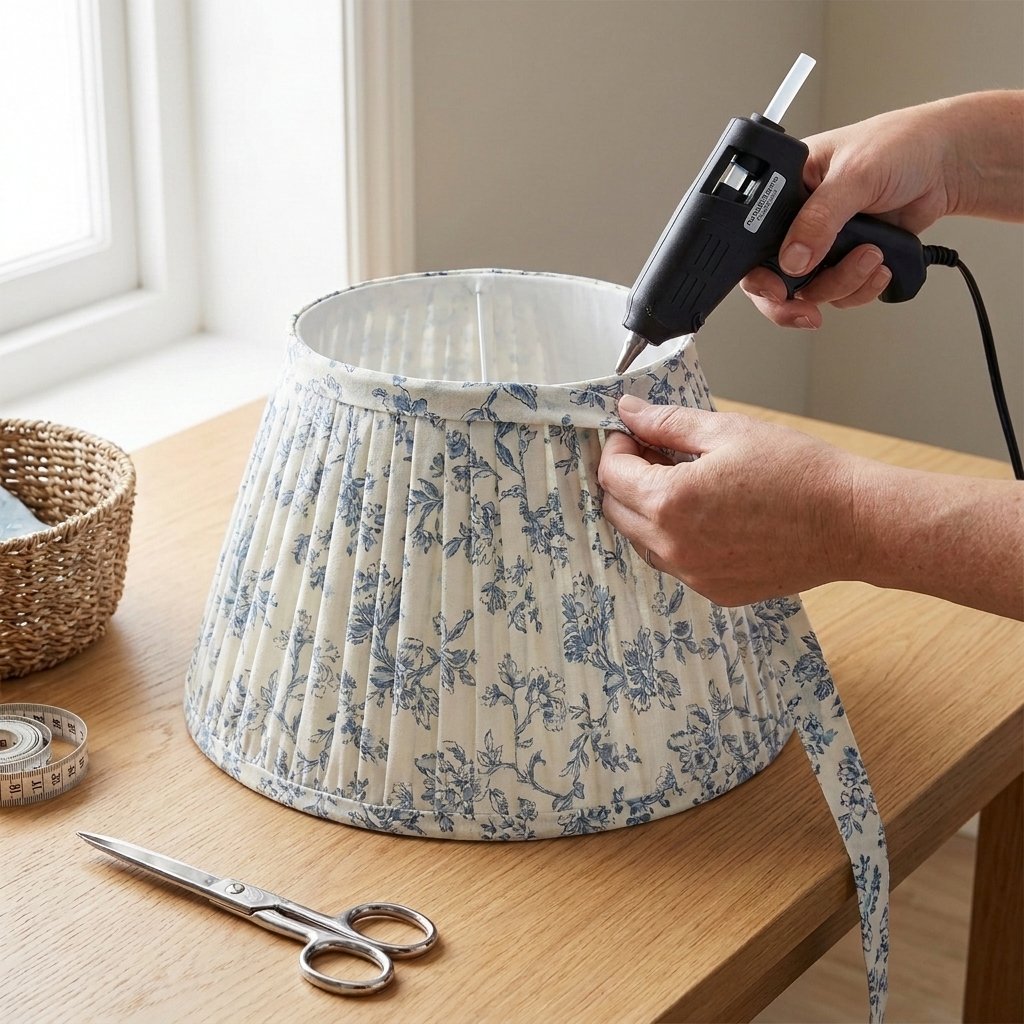
Once every pleat is attached, finish the lampshade by covering the exposed edges. Cut narrow strips of matching fabric or decorative trim. Fold the raw edges under and press them flat. Glue these finishing strips around the top rim first, then repeat around the bottom. Wrap the fabric slightly over the inside edge of the lampshade to create a clean, finished appearance from every viewing angle. Take your time here—the finishing trim is what gives the lampshade its professional look.
Recommended finishings:
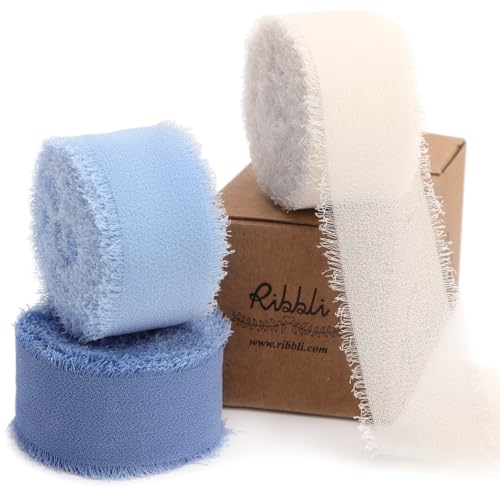
- Decorative ribbon
- Cotton bias tape
- Fabric trim
- Pom-pom trim (optional decorative upgrade)


Step 8: Inspect and Finish
Allow the glue to cool completely before handling the lampshade.
Once dry:
- Trim loose threads.
- Remove stray glue strings.
- Press down any lifted edges.
- Check that every pleat is secure.
- Wipe away any visible pencil or chalk marks.
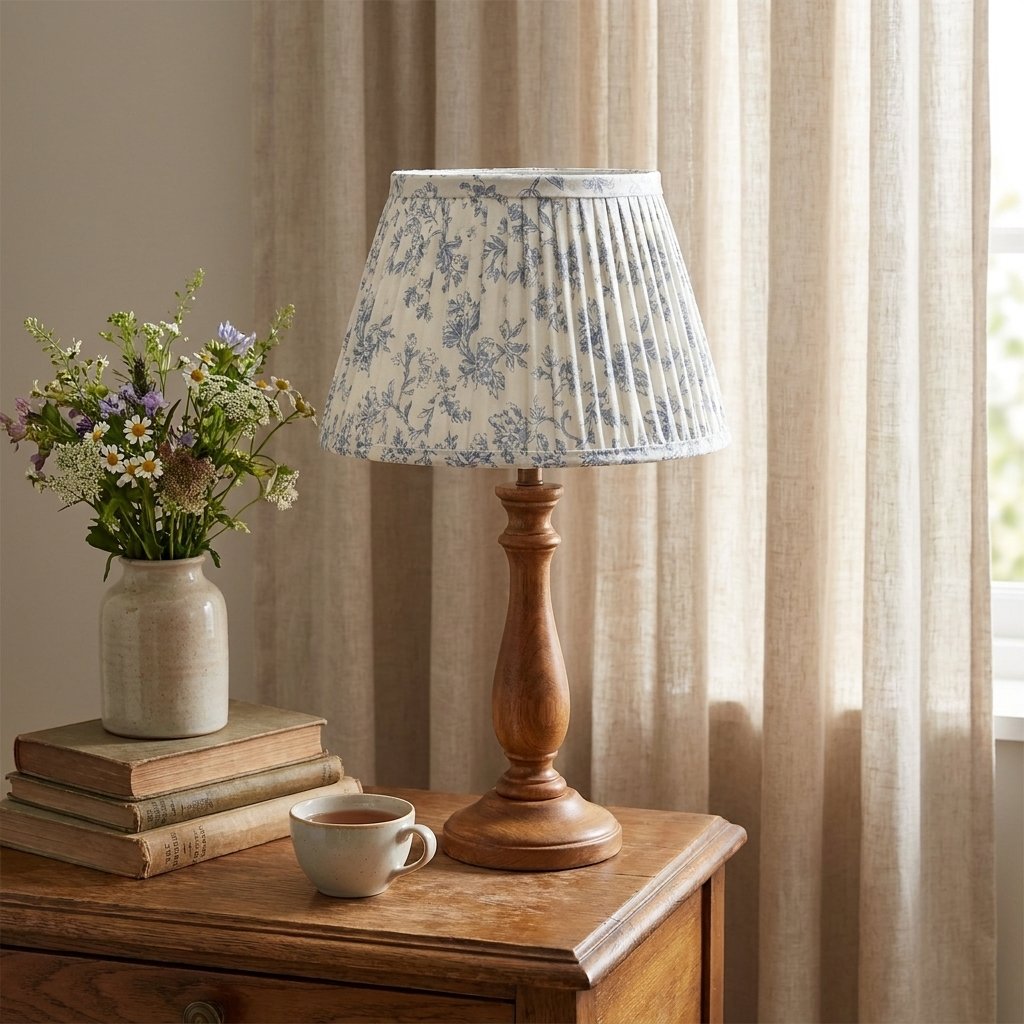
Place the finished lampshade onto its lamp base and switch on a warm LED bulb to admire the soft texture and beautiful shadows created by the pleats. Your custom lampshade is now ready to become a standout feature in your home.
Recommended standing-out features you can add:
- Warm white LED bulb
- Decorative lamp base
- Smart LED bulb (optional upgrade)


Quick Success Tips
Before moving on to styling your new lampshade, keep these best practices in mind:
- Work with lightweight woven fabrics for the cleanest pleats.
- Press every strip before attaching it.
- Use minimal hot glue to avoid seepage.
- Rotate the lampshade frequently while working.
- Step back every few pleats to check alignment.
- Finish the edges carefully for a professional result.
- Always use LED bulbs, which produce much less heat than incandescent bulbs and are better suited for fabric-covered lampshades.
Style Your DIY Pleated Lampshade Like a Designer
Now that you’ve finished your DIY pleated lampshade, it’s time for the fun part—finding the perfect place to display it. A fabric lampshade isn’t just a functional lighting accessory; it also adds softness, texture, and character to a room. With the right styling, your handmade piece can look like a boutique home décor find.
Whether your home is classic, modern, or somewhere in between, a pleated lampshade blends beautifully into many decorating styles.
Cottagecore Charm
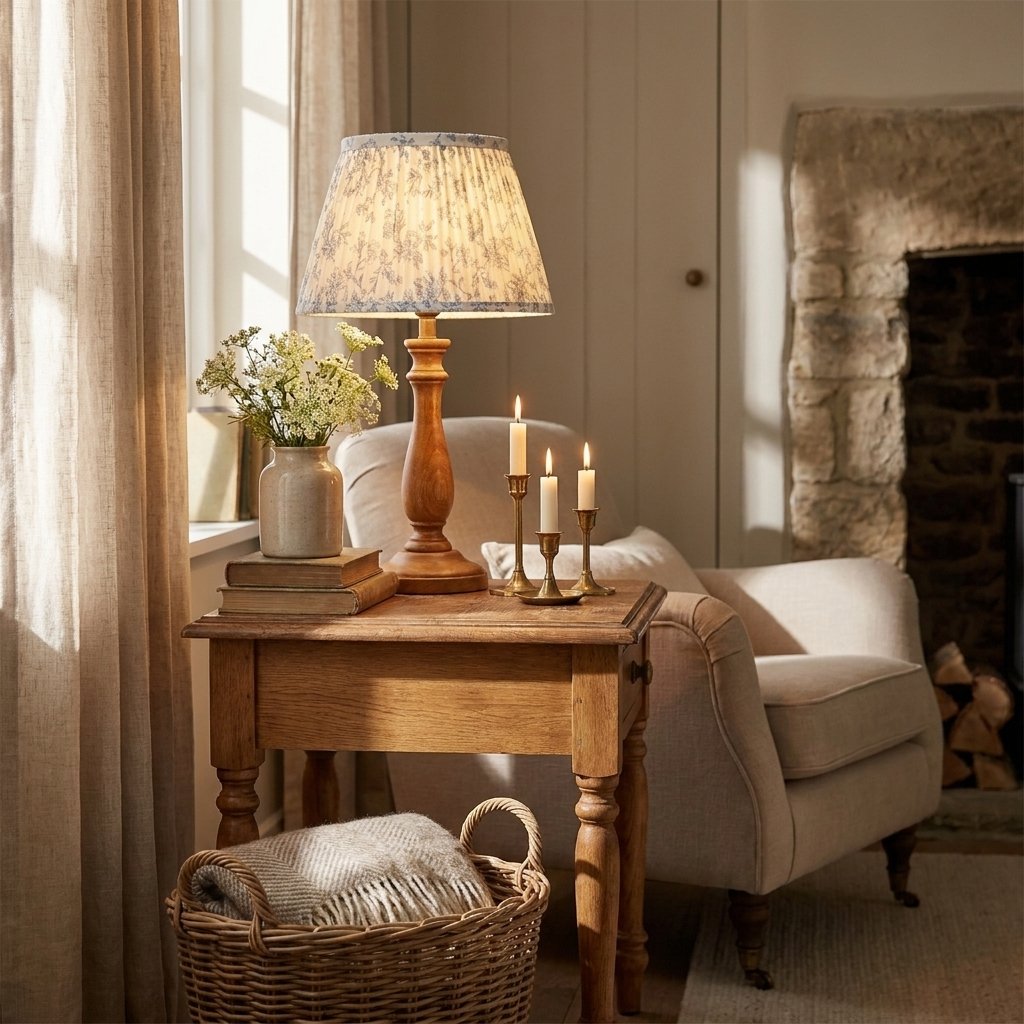
A floral pleated lampshade feels right at home in a cozy cottage-inspired space.
Pair it with:
- Natural wood furniture
- Vintage books
- Linen table runners
- Ceramic pitchers or vases
- Fresh or dried wildflowers
- Brass candle holders
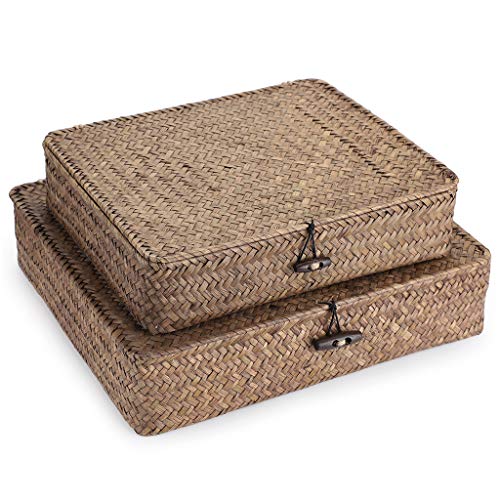
- Woven baskets
Soft, warm lighting enhances the handcrafted look and creates a welcoming atmosphere.
Recommendations you may like:
- Small ceramic vase
- Faux wildflower stems
- Vintage-style candle holders
- Woven storage baskets


Grandmillennial Elegance
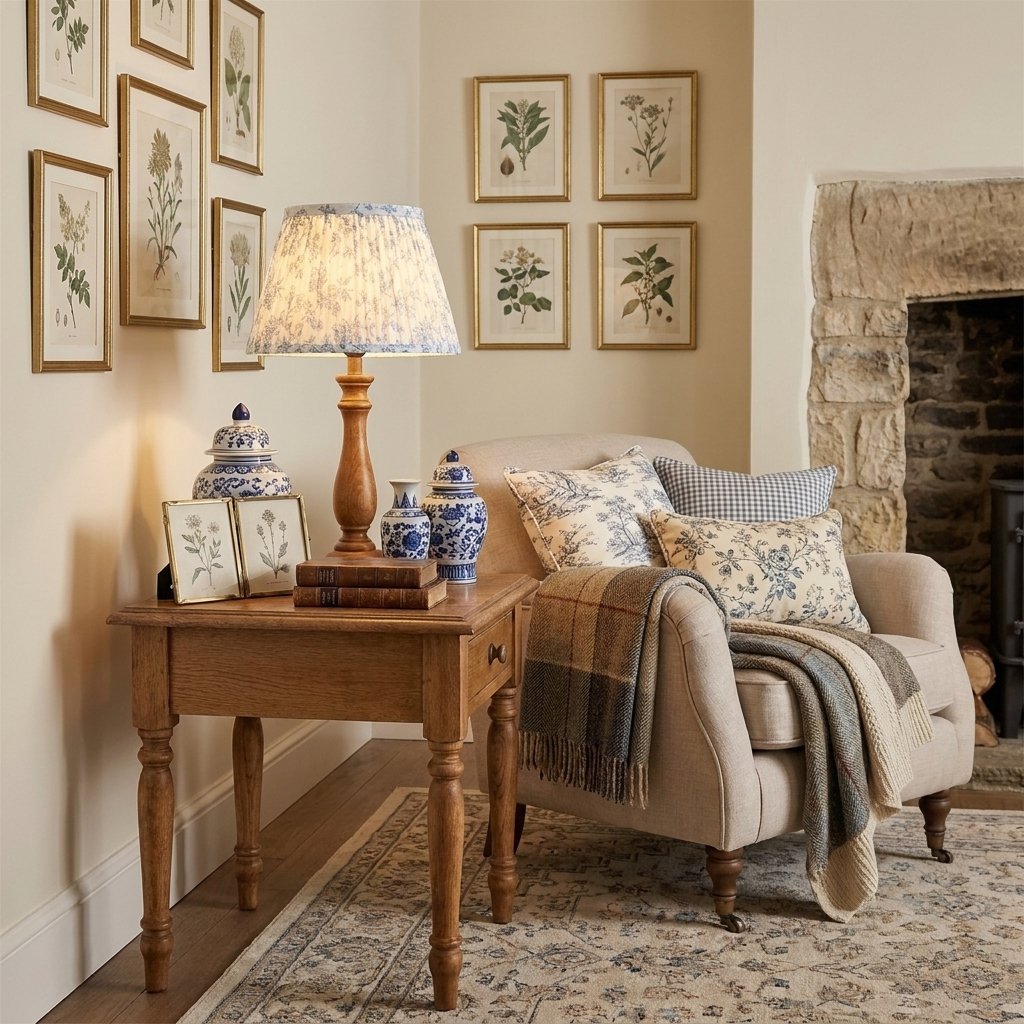
Pleated lampshades are one of the signature details found in grandmillennial interiors. Their timeless look pairs beautifully with traditional furniture and layered textiles. Complete the look with:
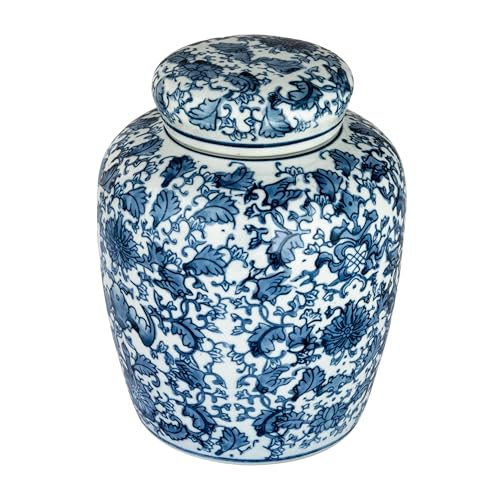
- Blue-and-white ceramics
- Botanical artwork
- Needlepoint pillows
- Antique picture frames
- Patterned curtains
- Mahogany or oak furniture
The combination creates a collected, lived-in aesthetic that never feels overly formal.


Modern Farmhouse Appeal
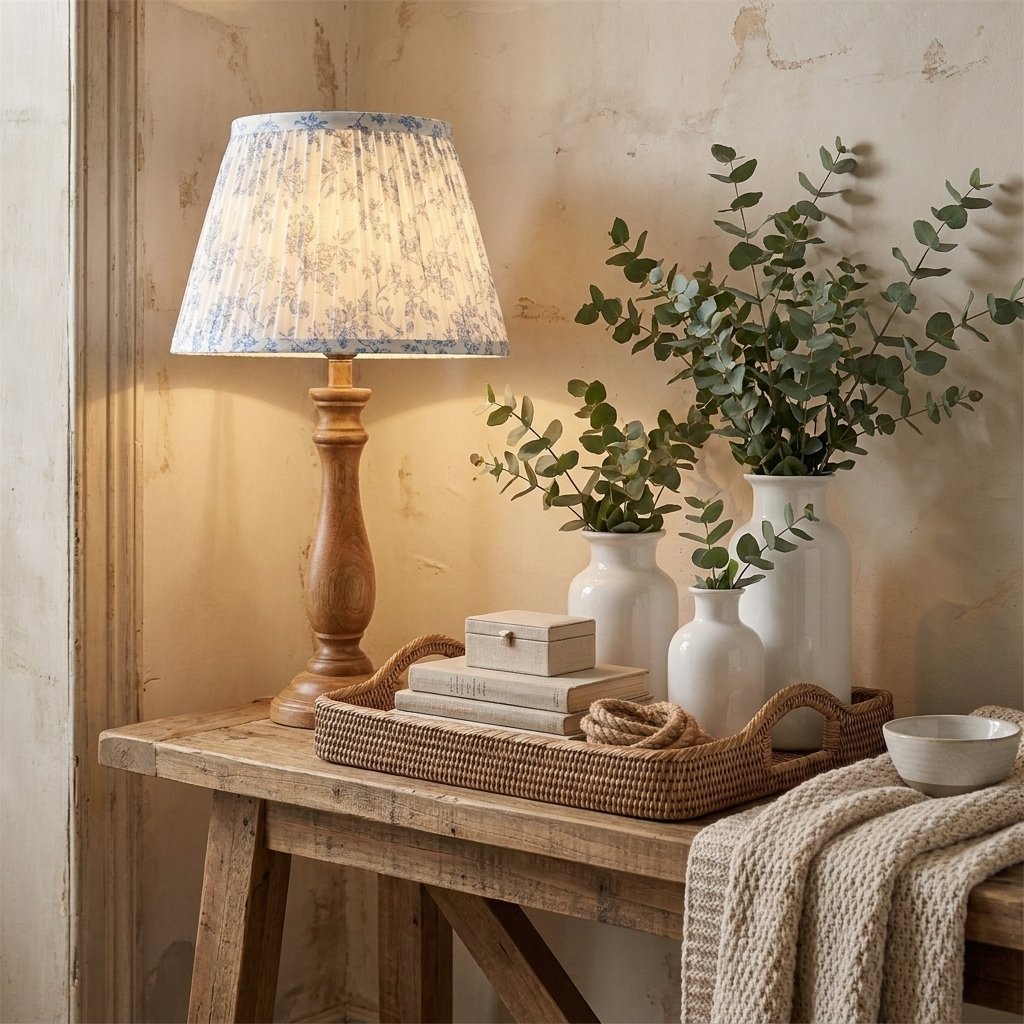
A pleated fabric lampshade can also soften the clean lines of farmhouse interiors. Choose neutral fabrics and pair them with:
- Distressed wood furniture
- Matte black accents
- White pottery
- Eucalyptus stems
- Woven trays
- Cozy knit throws
The fabric texture helps balance the simplicity of farmhouse décor while adding visual warmth.
Where to Use Your Pleated Lampshade?
One of the best things about this project is its versatility. Once you’ve made one, you’ll likely find yourself wanting to update lamps throughout your home. Perfect locations include:
- Bedside tables
- Reading corners
- Nursery dressers
- Entryway consoles
- Home offices
- Living room side tables
- Guest bedrooms
- Hallway accent tables
Creating matching lampshades for a pair of lamps instantly gives a room a more polished, professionally designed appearance.
Common Mistakes to Avoid
Even simple DIY projects have a few details that can make the difference between an average result and a beautifully finished piece.
- Choosing Fabric That Is Too Thick – Heavy fabrics create bulky folds that don’t drape neatly around the lampshade. Instead, use lightweight woven cotton or linen for crisp, elegant pleats.
- Skipping the Iron – Unpressed fabric creates uneven folds and wrinkles that become much more noticeable once the lampshade is assembled. Taking a few extra minutes to press each strip helps achieve a cleaner, more tailored finish.
- Applying Too Much Glue – A thin bead of glue is usually enough to hold each strip securely. Using too much adhesive can cause it to seep through the fabric or create uneven bumps.
- Rushing the Pleats – Small spacing differences become much more noticeable as you work your way around the lampshade. Pause every few strips and view the project from multiple angles before continuing.
- Forgetting to Test the Lamp – Before placing your finished lampshade into everyday use, install it on the lamp and switch it on. Check that:
- The pleats remain secure.
- No fabric is touching the light bulb.
- The shade sits evenly.
- The trim is firmly attached.
Always use LED bulbs, which generate significantly less heat than traditional incandescent bulbs and are a safer choice for fabric-covered lampshades.
Care and Maintenance
With proper care, your handmade lampshade can stay beautiful for years.
To keep it looking its best:
- Dust it weekly using a microfiber duster or soft brush attachment on a vacuum.
- Keep it away from excessive humidity.
- Avoid direct contact with water or cleaning sprays.
- Rotate the lampshade occasionally if one side receives more sunlight than the other.
- Replace the LED bulb if it begins producing excessive heat.
Avoid washing the fabric directly, as moisture may affect the glue and alter the shape of the pleats.
Budget Breakdown
One reason this DIY project is so popular is that it delivers a high-end look without the designer price tag.
| Item | Estimated Cost |
|---|---|
| Plain Lampshade | $10–20 |
| Cotton Fabric | $6–15 |
| Hot Glue Sticks | $2–5 |
| Decorative Trim (Optional) | $3–8 |
| Total Estimated Cost | $20–45 |
Many crafters can reduce the cost even further by repurposing an existing lampshade or using fabric remnants from previous sewing projects.
Project Variations
Once you’ve mastered the basic technique, consider experimenting with different looks:
- Vintage Floral – Use delicate botanical prints for a timeless English cottage feel.
- French Country – Choose soft toile or ticking stripe fabric for an elegant, rustic finish.
- Coastal – Opt for blue-and-white stripes or sandy linen textures.
- Modern Minimalist – Create subtle pleats using solid ivory, beige, or light gray linen.
- Seasonal Décor – Refresh the look throughout the year with interchangeable fabrics in autumn tones, festive holiday prints, or fresh spring florals.
Why This DIY Is Worth Trying?
Unlike many quick décor projects, a pleated lampshade offers a lasting transformation. It turns an everyday household item into a personalized accent that reflects your style, and because you choose the fabric yourself, the finished piece feels uniquely yours.
Whether you’re updating a thrifted lamp, coordinating with existing décor, or simply looking for an enjoyable weekend craft, this project combines creativity, affordability, and practicality in one satisfying makeover.
With thoughtful fabric selection and careful attention to detail, you’ll end up with a lampshade that looks custom-made—one you’ll be proud to display in your home for years to come.
Related Posts:
- 7 Steps No-Sew DIY Tulle Lampshade: Pink Pendant Light
- DIY French Vintage Ruffle Lampshade: An Easy No-Sew Tutorial
Frequently Asked Questions
- Can I make a DIY pleated lampshade without sewing?
Absolutely! This project is designed to be completely no-sew. Instead of stitching fabric together, you’ll create neat pleats by folding and pressing the fabric before attaching it to the lampshade with hot glue. This makes it an approachable DIY for beginners or anyone who doesn’t own a sewing machine.
The key to a professional-looking result isn’t sewing—it’s taking your time with measuring, ironing, and spacing the pleats evenly. - What type of fabric works best for a pleated lampshade?
Lightweight woven fabrics produce the cleanest and most consistent pleats. Cotton, linen, cotton-linen blends, and lightweight block-print fabrics are all excellent choices because they’re easy to fold and hold their shape well.
Avoid thick or stretchy materials like velvet, fleece, knit fabrics, satin, or upholstery fabric. These materials create bulky folds that are more difficult to glue neatly and can make the finished lampshade look uneven. - Can I use an old lampshade instead of buying a new one?
Yes! Reusing an old lampshade is one of the easiest ways to save money and reduce waste. As long as the frame is sturdy and the shade is clean, it can usually be transformed into a beautiful custom piece.
Before starting, inspect the lampshade for loose fabric, dents, broken frames, or peeling adhesive. If necessary, remove damaged outer fabric so you have a smooth surface to work with. - How much fabric do I need for a DIY pleated lampshade?
The amount of fabric depends on the size and shape of your lampshade, as well as how closely you overlap the pleats.
For most standard table lampshades, approximately ¾ to 1 yard (0.7–0.9 meters) of lightweight fabric is usually sufficient. Larger floor lampshades or shades with wider diameters may require additional fabric.
It’s always a good idea to purchase a little extra so you have enough material for mistakes, matching patterns, or adding coordinating trim. - Do I need to remove the original lampshade fabric first?
Not always. If the existing fabric is clean, tightly attached, and in good condition, you can often apply the pleated fabric directly over it.
However, if the original covering is stained, peeling, wrinkled, or damaged, removing it first will give you a smoother foundation and help the finished pleats sit more evenly. - What glue works best for attaching fabric to a lampshade?
A high-temperature hot glue gun is one of the most popular choices because it bonds quickly and allows you to work one pleat at a time.
For lightweight fabrics, a small amount of glue is usually all that’s needed. Applying too much adhesive may seep through the fabric or create visible bumps.
Fabric glue can also work for some projects, but it generally takes longer to dry and may require clips or pins while it cures. - How do I keep my pleats evenly spaced?
Consistency comes from working slowly rather than trying to finish quickly. A few helpful tips include:
– Press every fabric strip before attaching it.
– Overlap each strip by a similar amount.
– Rotate the lampshade as you work.
– Step back every few pleats to check alignment.
– Use fabric clips temporarily if needed before gluing.
Remember that tapered lampshades naturally require slightly different spacing near the bottom to accommodate the wider circumference. - Are pleated lampshades still in style?
Yes. Pleated lampshades have become increasingly popular in recent years because they add texture, softness, and timeless character to a room. They’re especially common in decorating styles such as:
– Cottagecore
– Grandmillennial
– English Country
– Traditional
– Vintage-inspired interiors
– French Country
– Coastal homes
Because they have a classic appearance, they’re less likely to go out of style than many trend-driven home décor pieces. - Is it safe to use a fabric-covered lampshade?
Yes—when used properly.
Always make sure the fabric is securely attached and never touches the light bulb. Using an LED bulb is strongly recommended because LEDs produce significantly less heat than traditional incandescent bulbs.
Avoid using bulbs that exceed the lamp manufacturer’s recommended wattage. - Can beginners make this project successfully?
Definitely. This is a beginner-friendly DIY that doesn’t require advanced crafting skills or specialized equipment.
The most important qualities are patience and attention to detail. Even if you’ve never completed a home décor project before, taking your time with measuring, ironing, and placing each pleat carefully will help you achieve a beautiful result. - How long does it take to make a pleated lampshade?
Most people can complete the project in 2 to 3 hours, depending on the size of the lampshade and the complexity of the fabric pattern. The majority of the time is spent:
– Measuring
– Cutting fabric
– Pressing the strips
– Carefully attaching each pleat
If you’re making multiple lampshades using the same fabric, each additional shade usually comes together more quickly. - Can I wash a fabric pleated lampshade?
No. Because the fabric is attached with adhesive, soaking or washing the lampshade may weaken the glue and distort the pleats. Instead, clean it by:
– Dusting regularly with a microfiber cloth.
– Using a soft brush attachment on a vacuum.
– Gently removing lint with a lint roller if necessary.
Keeping the lampshade away from excessive moisture will help preserve its appearance for years. - What if my lampshade is tapered instead of straight?
Tapered lampshades actually work beautifully for this project.
As you apply the pleats, you’ll naturally overlap the fabric a little more near the top and slightly less near the bottom to follow the changing shape. Taking a moment to check your spacing every few pleats helps maintain an even, balanced appearance.
There’s no need to force perfectly identical spacing—allow the pleats to follow the lampshade’s shape naturally. - Can I use patterned fabric instead of solid fabric?
Absolutely. Patterned fabrics often create the most eye-catching finished lampshades. Popular options include:
– Small floral prints
– Block-print fabrics
– Toile
– Gingham
– Botanical designs
– Delicate stripes
When using larger prints, lay out your fabric before cutting so the pattern is distributed evenly around the lampshade. - Can I customize my pleated lampshade with decorative trim?
Yes! Decorative trim is one of the easiest ways to give your lampshade a custom, designer-inspired finish. Consider adding:
– Cotton piping
– Pom-pom trim
– Scalloped edging
– Grosgrain ribbon
– Velvet ribbon
– Braided trim
– Tassel fringe
– Lace edging
Choose trim that complements your fabric rather than competing with it. A subtle finishing detail often creates the most elegant result.